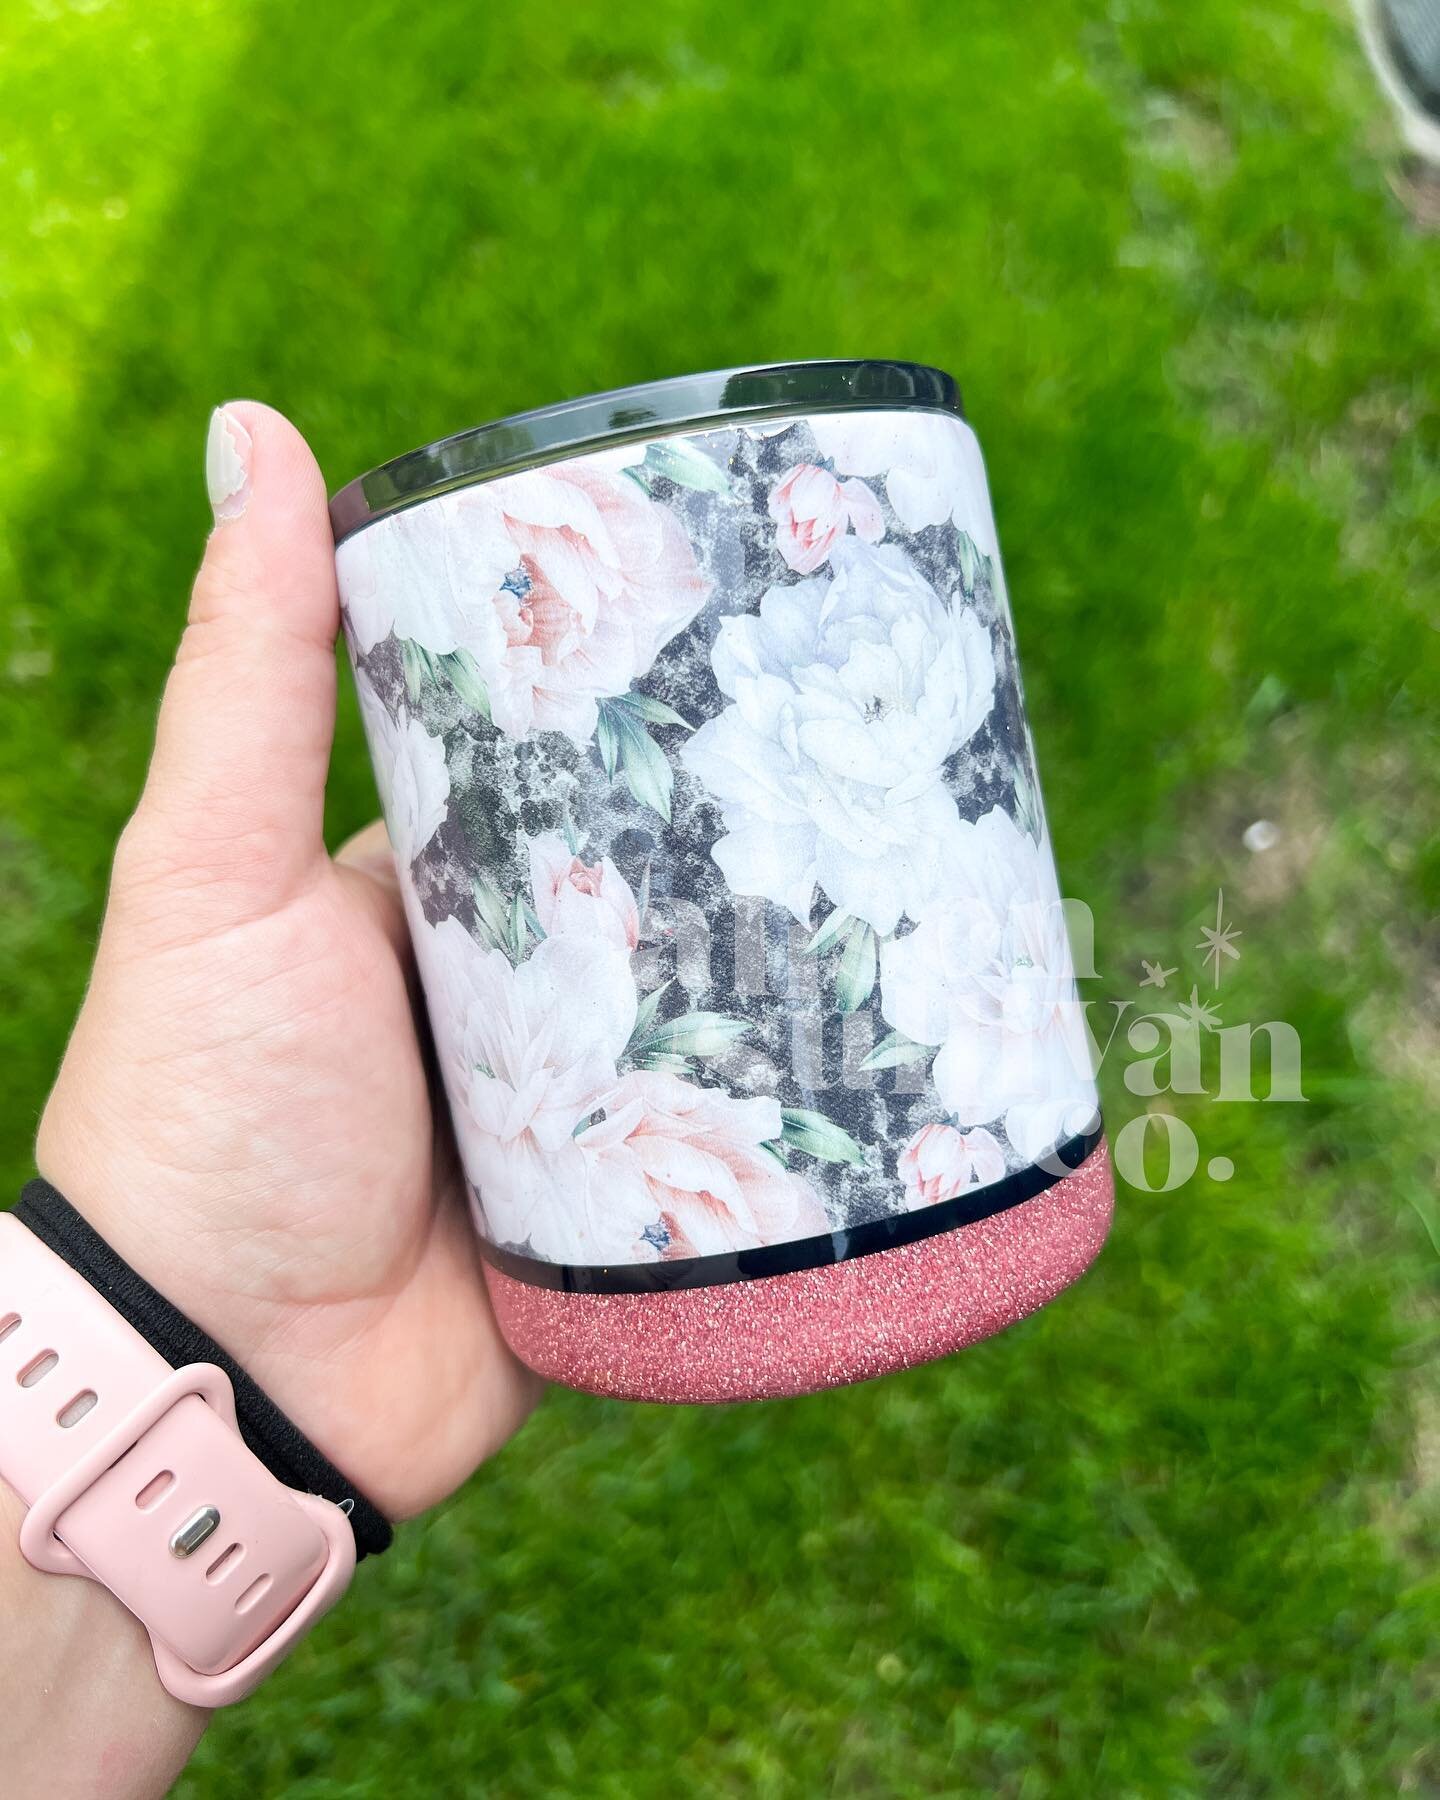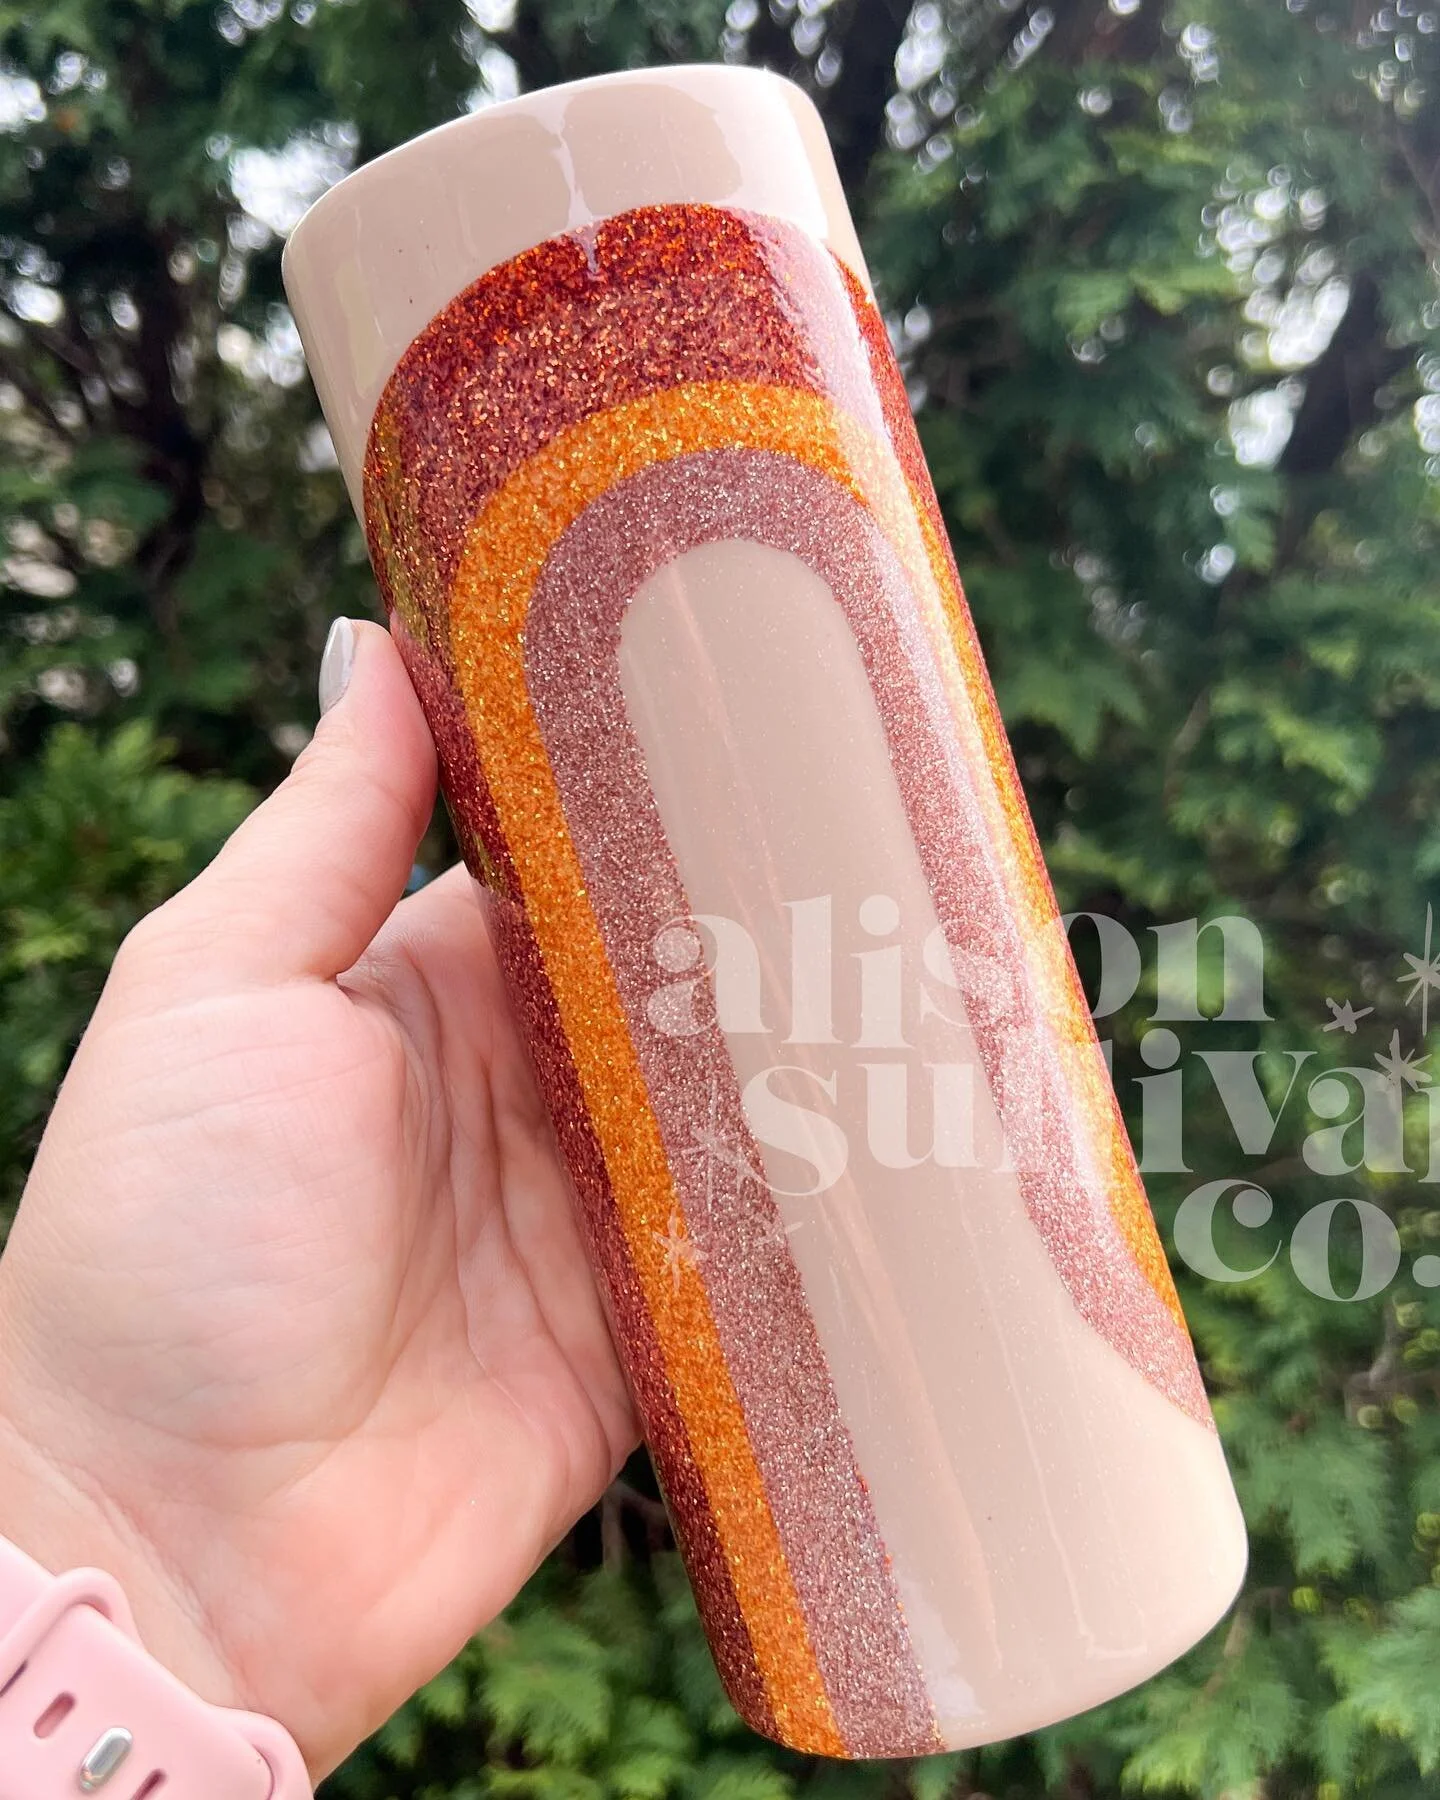
3 Rules you MUST FOLLOW for CrystaLac Tumblers & My CrystaLac Journey
Making beautiful tumblers with CrystaLac doesn’t have to be a complicated process. Today, I am walking you through the top three rules that you need to follow on every single tumbler to set yourself up for success.
If making tumblers is on your list of hobbies to try this year, it’s time to get started!

My Story on How I Got Started with CrystaLac
Nowadays, the internet is full of people trying to tell you what to do, what to buy, and the best way to go. This makes it hard to figure out what’s real and who you can trust. After I developed an allergy to epoxy and was having trouble breathing, I realized I had to move past it and switch to CrystaLac.
When I first started, no one was talking about CrystaLac because it was mainly used for furniture and wood projects. It seemed daunting because there were so many rules, and I couldn’t figure out what I needed to do on my tumblers. Thankfully, a lot has changed in the last three years and there is now more content on this subject.
However, it can be hard to figure out who to listen to and what you’re supposed to do. After teaching thousands of people how to make tumblers with CrystaLac, I have narrowed it down to the top three rules that you need to follow on each of your tumblers. This will ensure that your tumblers turn out beautifully and you don’t waste time and effort.
Recommended Supplies
Stainless Steel Tumblers (discount code: alisoncrafts)
Glitzy Kreations Glitter (Discount Code: alison10)
Glitter Dipped Sips Glitter (Discount Code: alisoncrafts10)
3 Rules You Must Follow for CrystaLac Tumblers
Rule #1: Prep Your Tumblers
Start by taking off the factory finish so that your paints, glitters, and top coats can stick. This is especially important if you want your tumbler to last a long time.
Rule #2: Follow the Dry Times
Different products have different guidelines for how long they should dry. For CrystaLac products, Grand
Finale and Glitter Glue need to dry two hours each before you recoat it, and any CrystaLac paints need to dry for four hours.
Rule #3: Always Sand Your Tumblers
This process will vary depending on the style tumbler that you’re making and the product that you’re using. Sanding will give you not only a smooth but a shiny surface.
If you’re feeling overwhelmed in your quest to learn everything there is to know about making glitter tumblers, make sure you scroll down and leave me a comment in the comments below so I can make sure that you have everything that you need to be successful. And for a complete guide of all the supplies you need to get started check out my free buying guide for CrystaLac tumblers below.
{FREE} BUYING GUIDE FOR CRYSTALAC TUMBLERS
Making tumblers with CrystaLac doesn’t have to be complicated. By following these three rules and having the right information, you can make amazing tumblers and have a great time doing it.
All you need to do is head on over to my YouTube channel by following the video below and hit the subscribe button to get started. We are going to have so much fun!
Watch Full Tutorial on YouTube:
Let’s Connect on Instagram