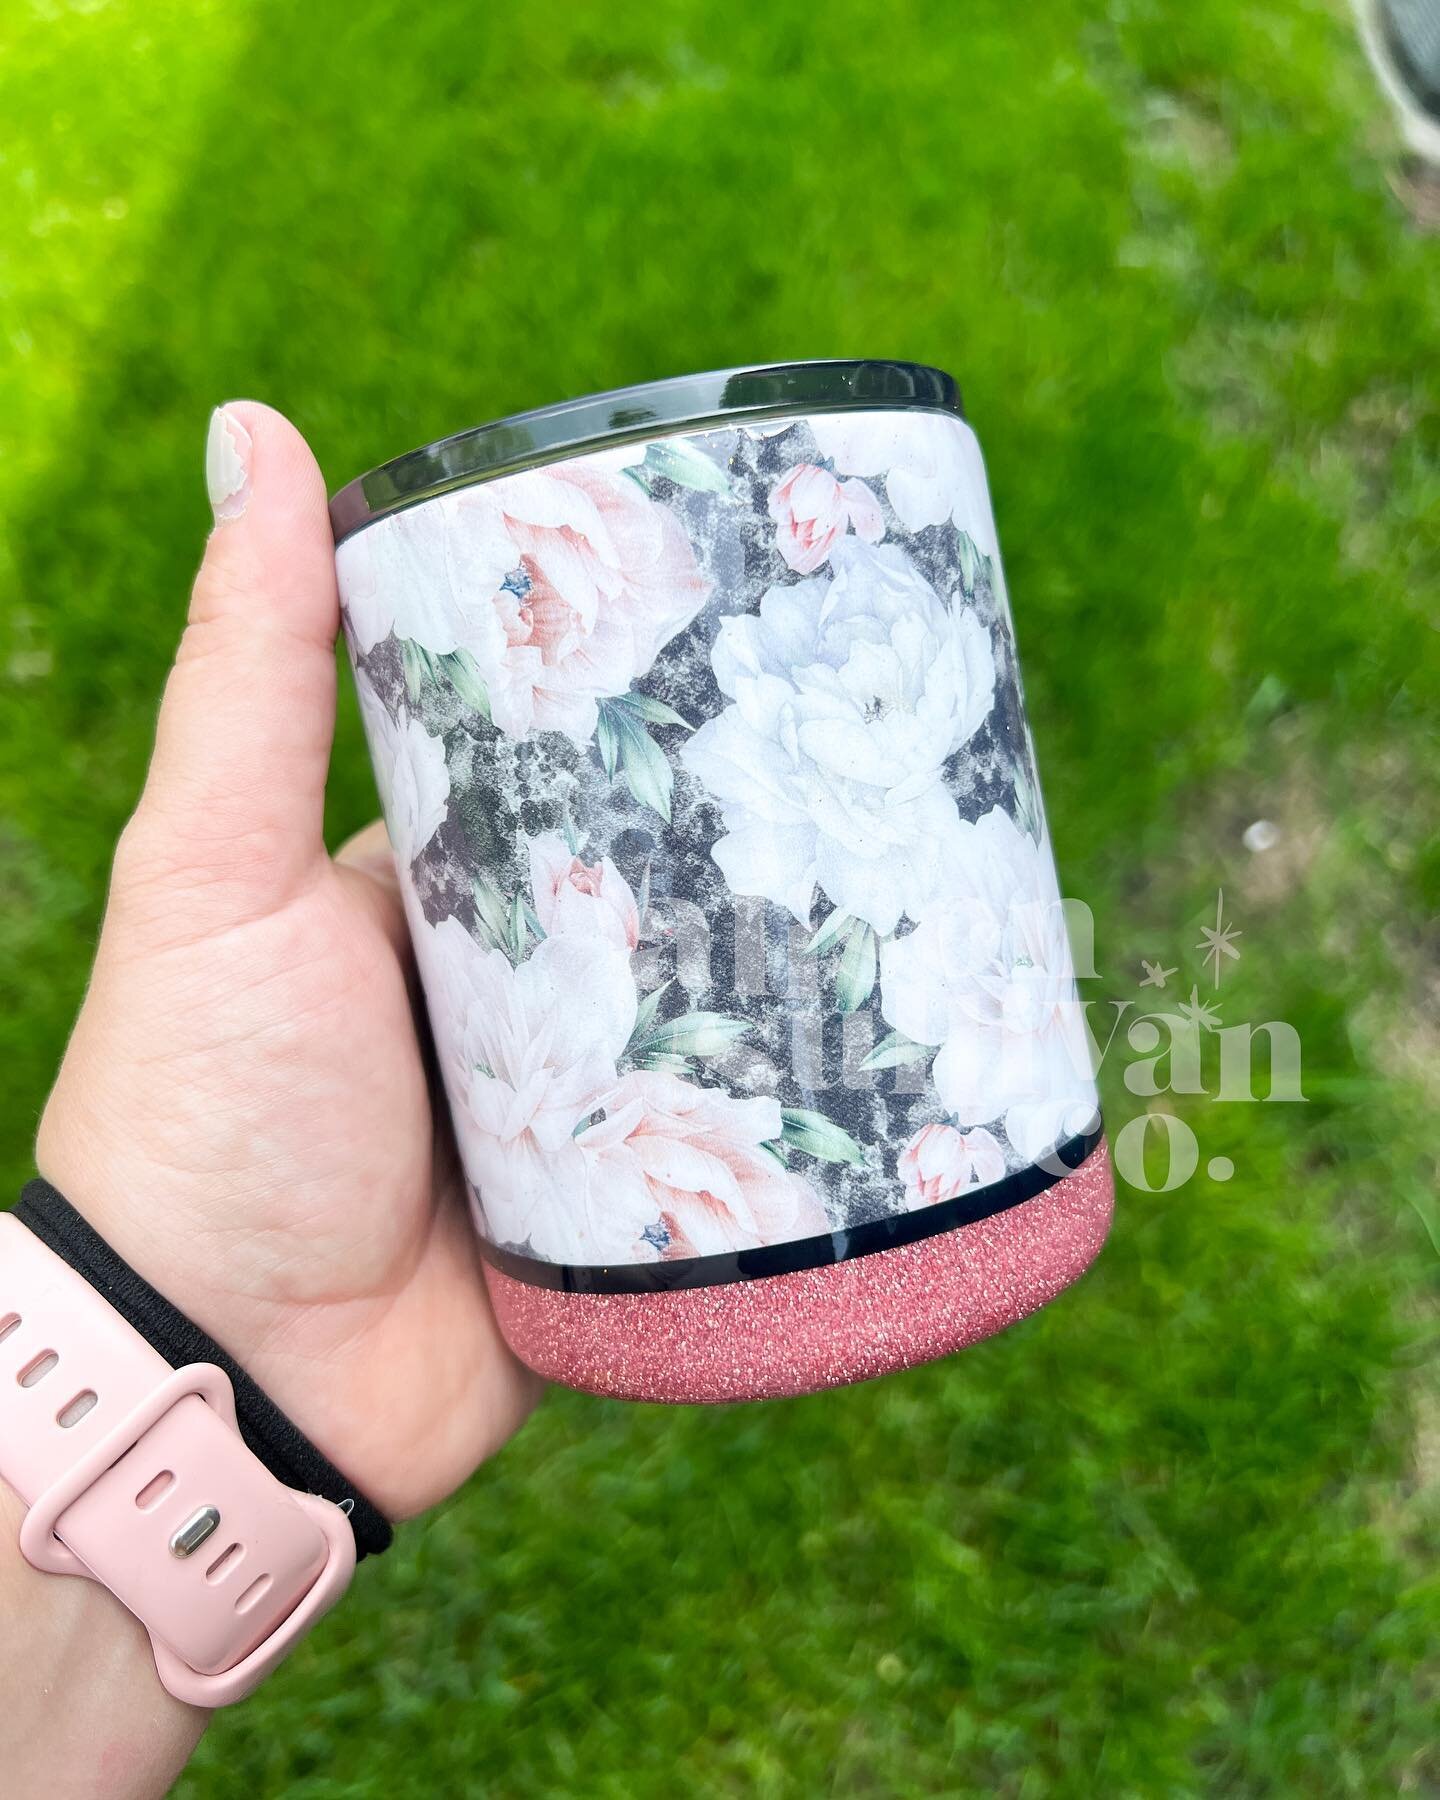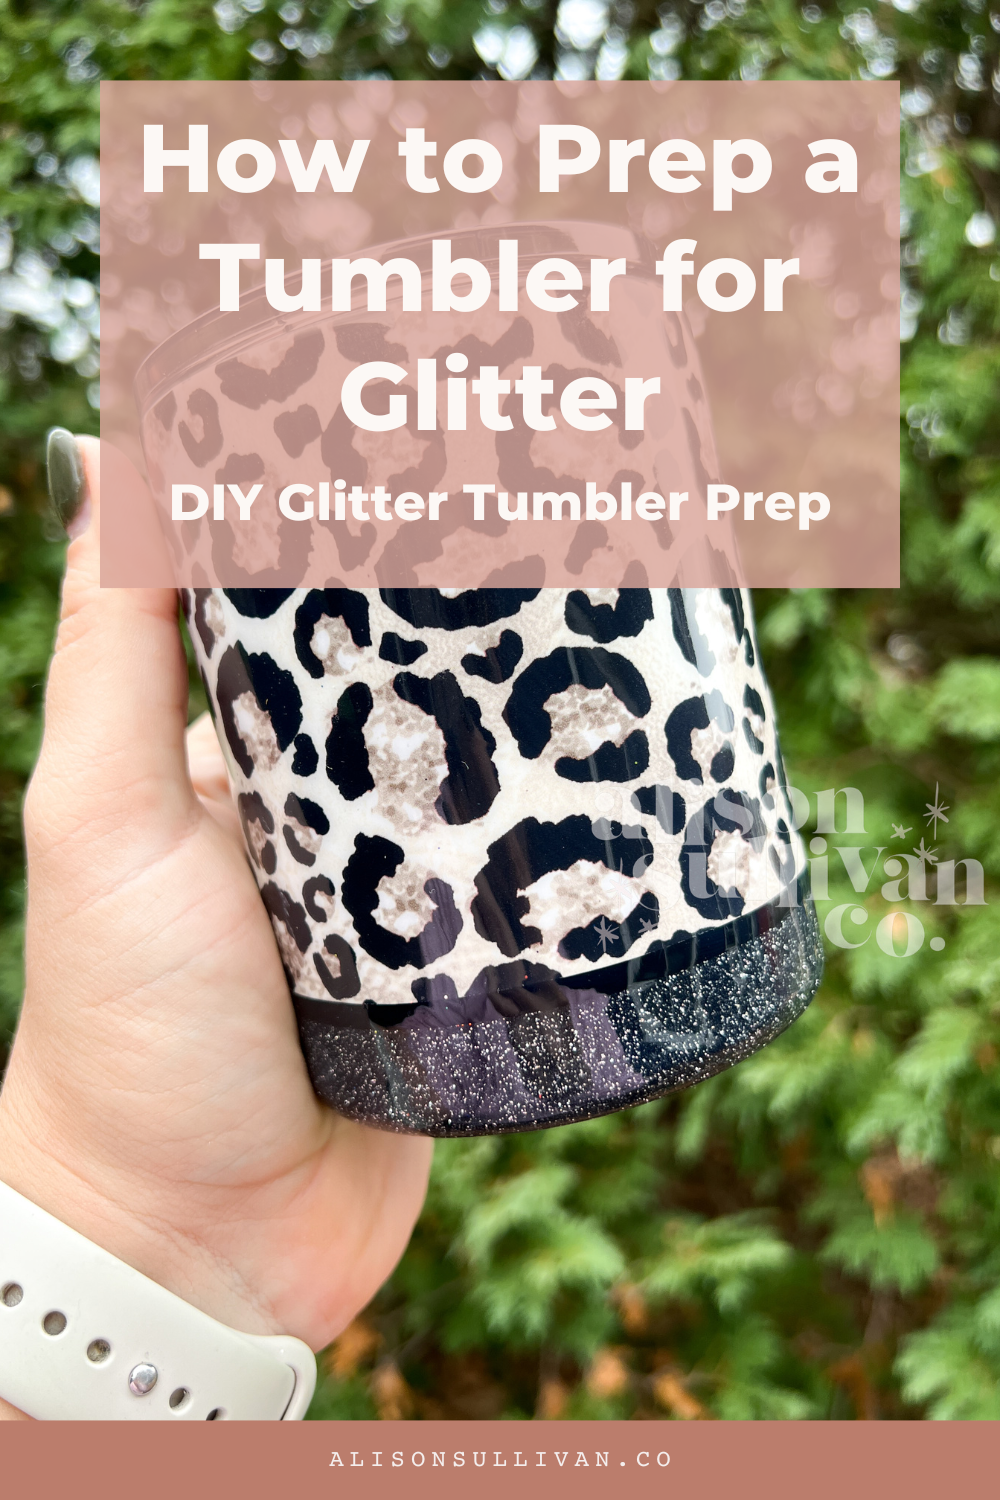
How to Prep a Tumbler For Glitter & Crystalac
Prep isn’t the most fun part of making your own DIY glitter tumblers without epoxy but it’s necessary to have an outcome you’re proud of. It’s actually the most important part of creating a glitter tumbler that will last a very long time.

Recommended Supplies for DIY Custom Tumblers
Stainless Steel Tumblers (discount code: alisoncrafts)
Glitzy Kreations Glitter (Discount Code: alison10)
Glitter Dipped Sips Glitter (Discount Code: alisoncrafts10)
Removing The Factory Coating From Your Tumbler- Sanding Technique
When it comes to prepping your tumbler, it's important to understand that all tumblers come with a factory coating. This coating allows your tumbler to be both water and rust resistant if you want to keep the tumbler with its standard look of stainless steel, but it needs to be removed for paint to adhere to the metal properly which is the base of our custom tumbler designs.
The first way to remove the factory coating is by sanding. Sanding allows you to scuff up the surface and remove that factory finish.
Two Items to Speed Up Your Sanding Process
Sanding Pad
Dawn Power Wash
If you don’t use Dawn Power Wash, it will take about five minutes of sanding. Once you’re done sanding, you can test it to make sure that it’s prepared properly. To do this, run it under water and if the water sheets off, you know your cup is prepped. If the water beads up, it’s not ready yet and needs some more sanding.
Make sure to pay attention to the top and bottom edges, and rinse with dish soap and dry with a paper towel after sanding.
If you are just getting started with creating your own DIY glitter tumblers without using toxic epoxy I recommend that you check out my freebie to help get you started with the basics of tumblers!
Removing The Factory Coating From Your Tumbler- Etching Technique
The second method is to use a metal prep etching solution. I like to use the Krug Cutter Metal Clean and Edge, but any metal prep etching solution will work.
All you need to do is mix one part of the solution to three parts water and brush it on your tumbler.
Let it sit for 10 minutes and then rinse with dish soap and dry with a paper towel.
Removing The Factory Coating From Your Tumbler- Shellac Technique
The third method is to use Zinzer Shellac. This isn’t my favorite method, but it works.
Shake the can and spray from about a foot away and do three coats, letting each coat dry for about 30 minutes. Wait two to three hours for the last coat to dry and then you can go in with your base coat.
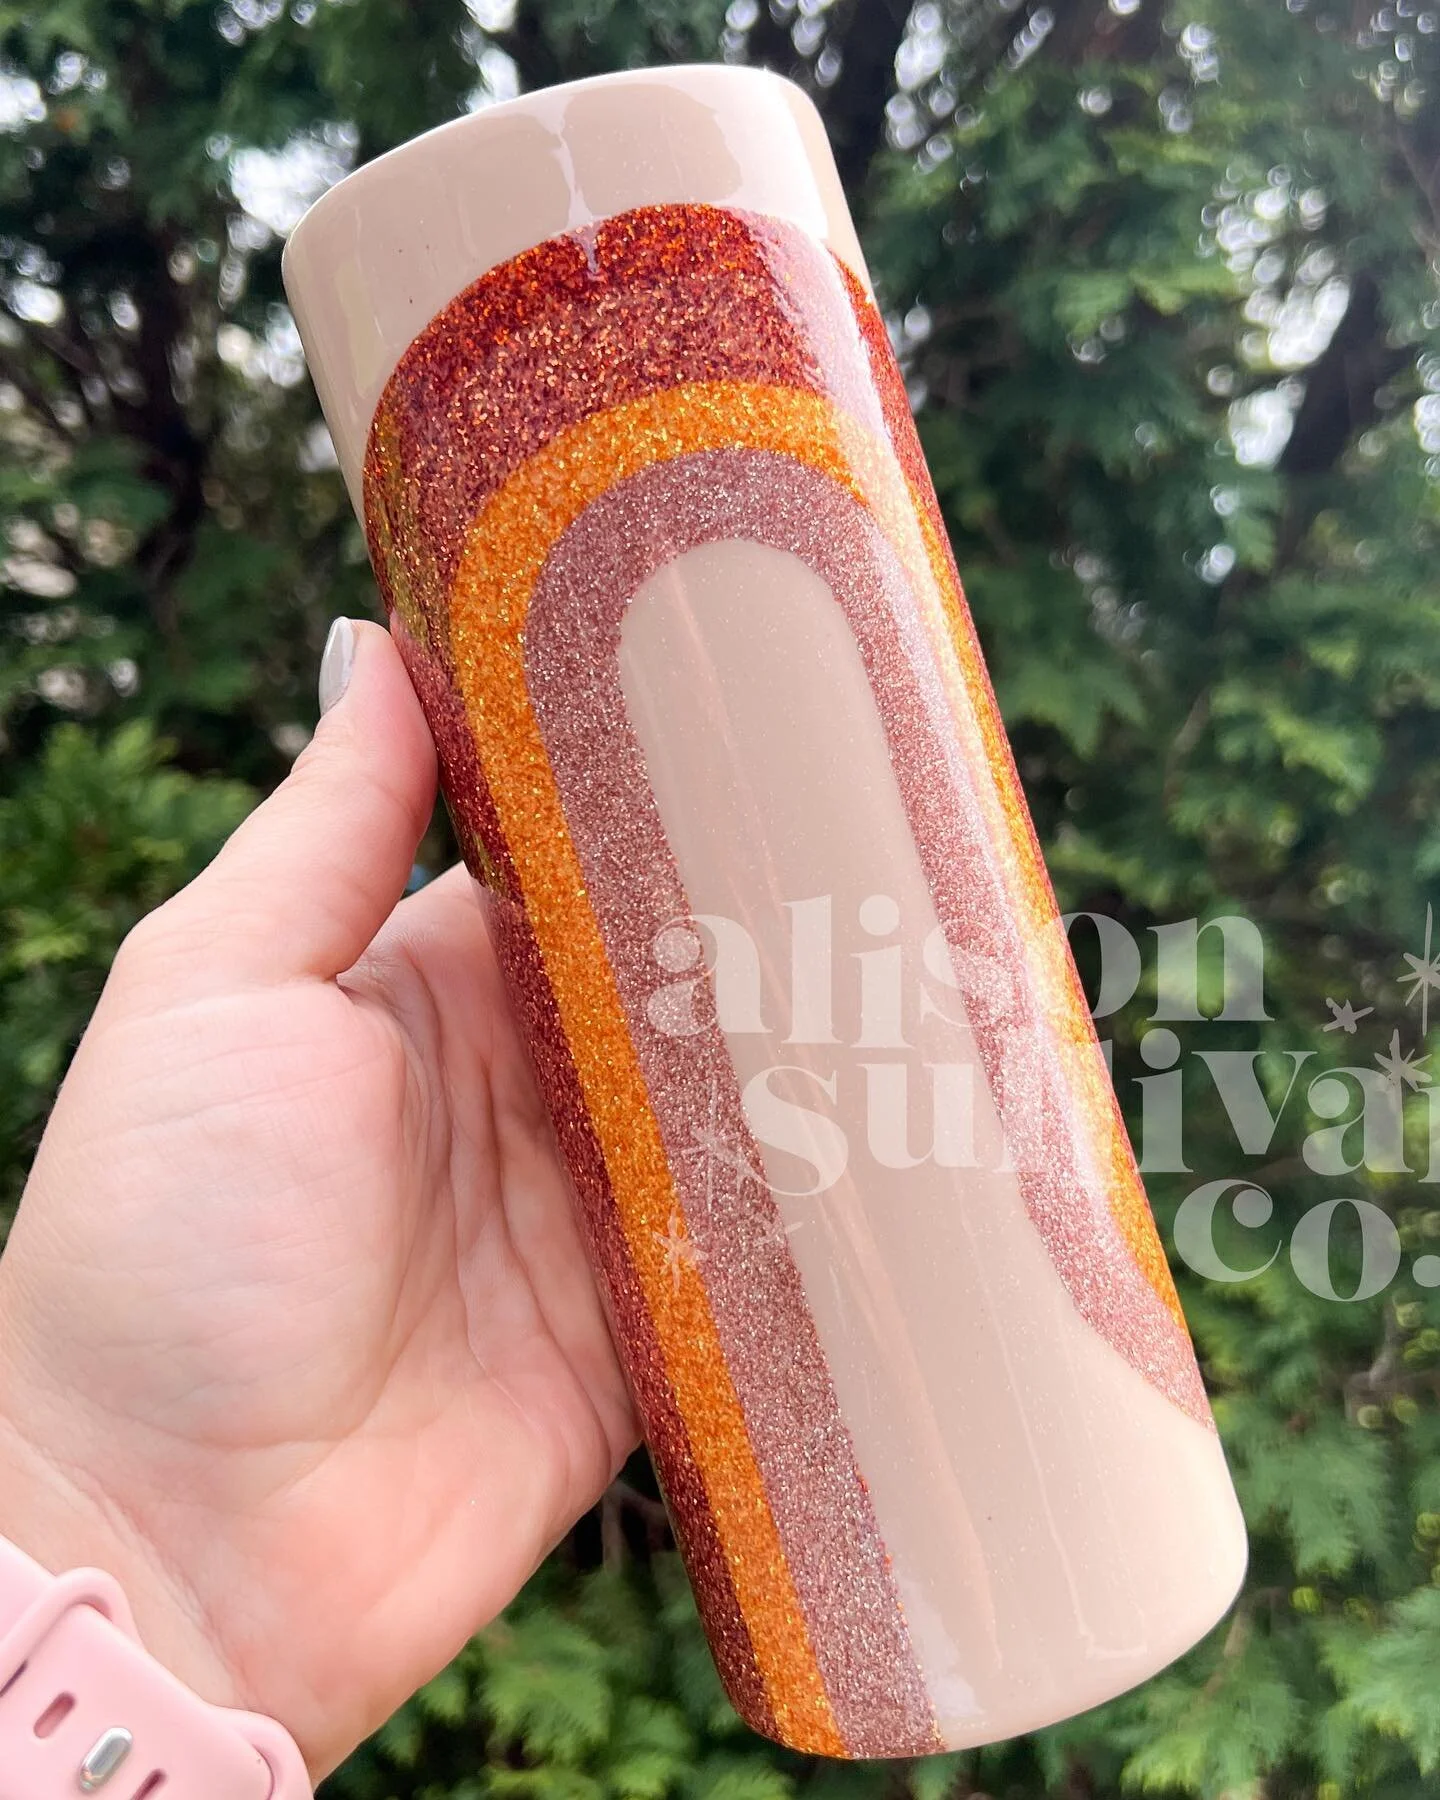
Once you’ve prepped your tumbler, you can move on to adding your base coat.
Prepping your tumbler is the most important part of creating a tumbler that will last a very long time. Hopefully these tips have been helpful for you and you can use them to create tumblers that will make you proud.
Watch the full tutorial on YouTube:
Let’s Connect on Instagram