
Fabric Tumbler Tutorial - The BEST Method
Learn the best method to apply your fabric to your tumblers. This fabric tumbler tutorial will take you through each step of the process so you can add unique patterns to your tumblers.
Recommended Supplies
Fabric (I usually use Cotton)
Stainless Steel Tumblers (discount code: alisoncrafts)
Glitzy Kreations Glitter (Discount Code: alison10)
Glitter Dipped Sips Glitter (Discount Code: alisoncrafts10)
STEP 1: PREP YOUR SURFACE & ADD BASE COAT
Prep is important for any project. Sand with 220 Grit Sand paper to prep your tumbler. Watch here for a demonstration. . Paint on the base coat of your choice. It helps to match the color of your glitter. Let dry.
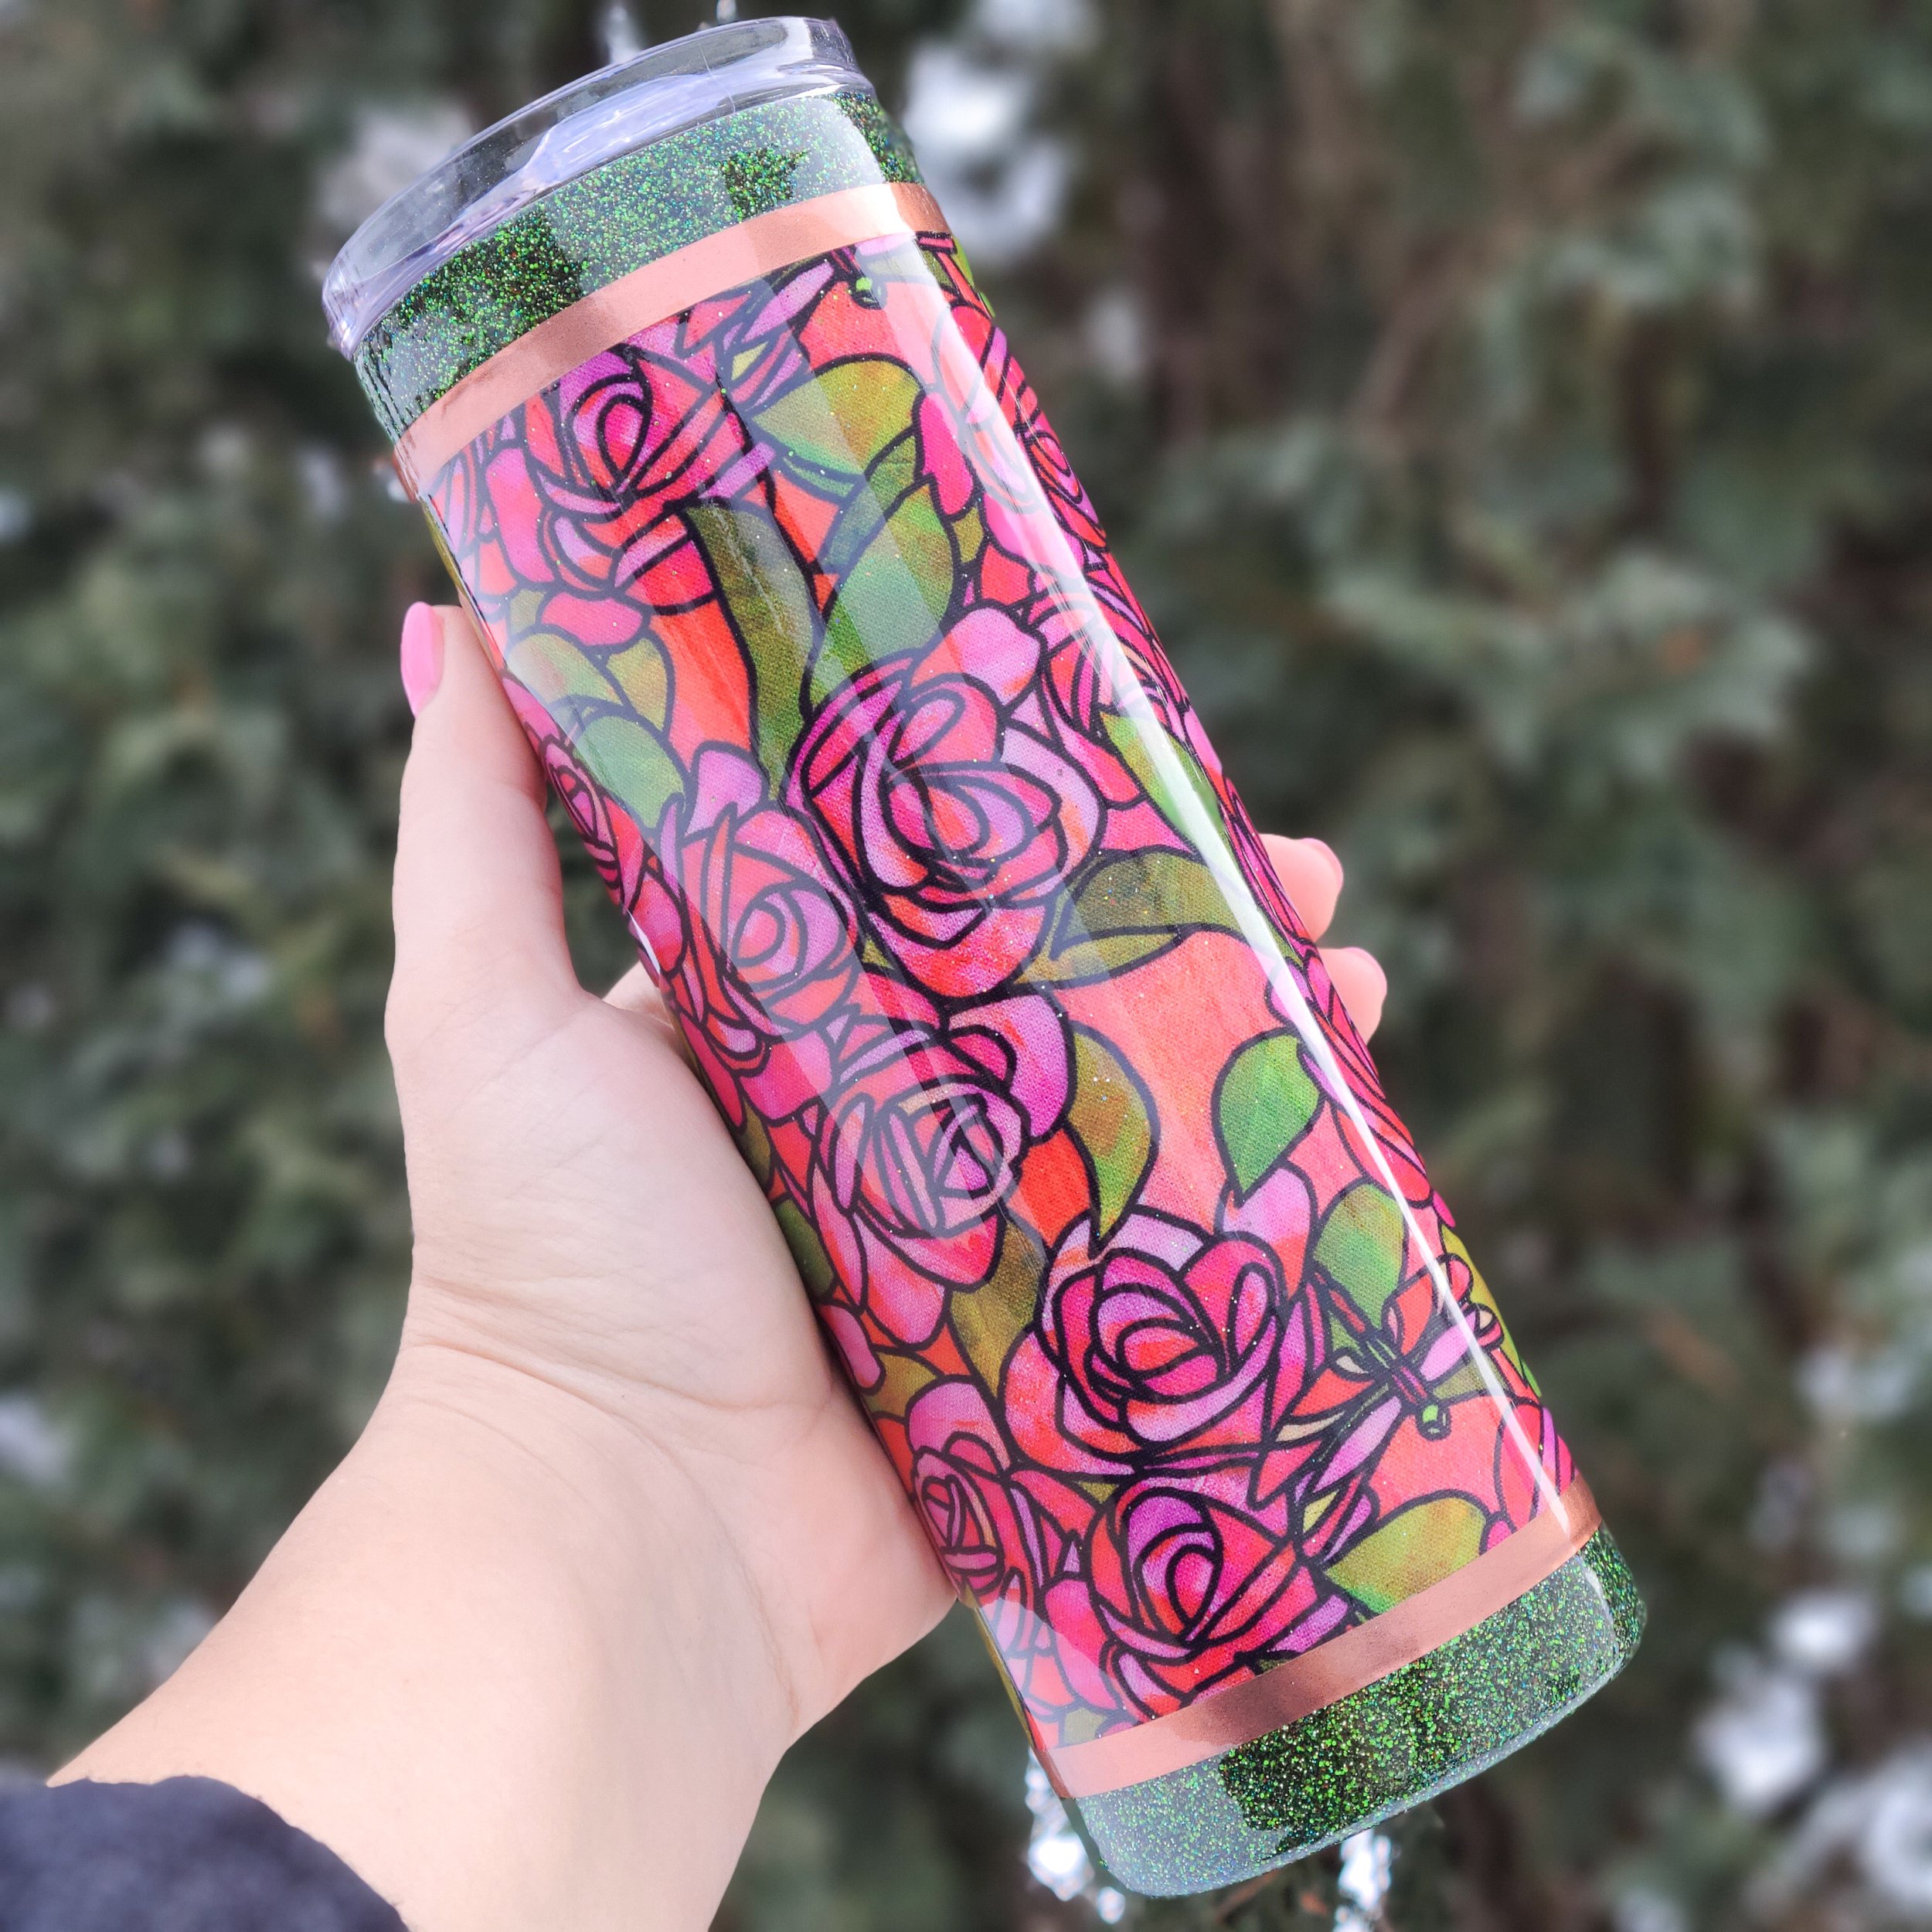
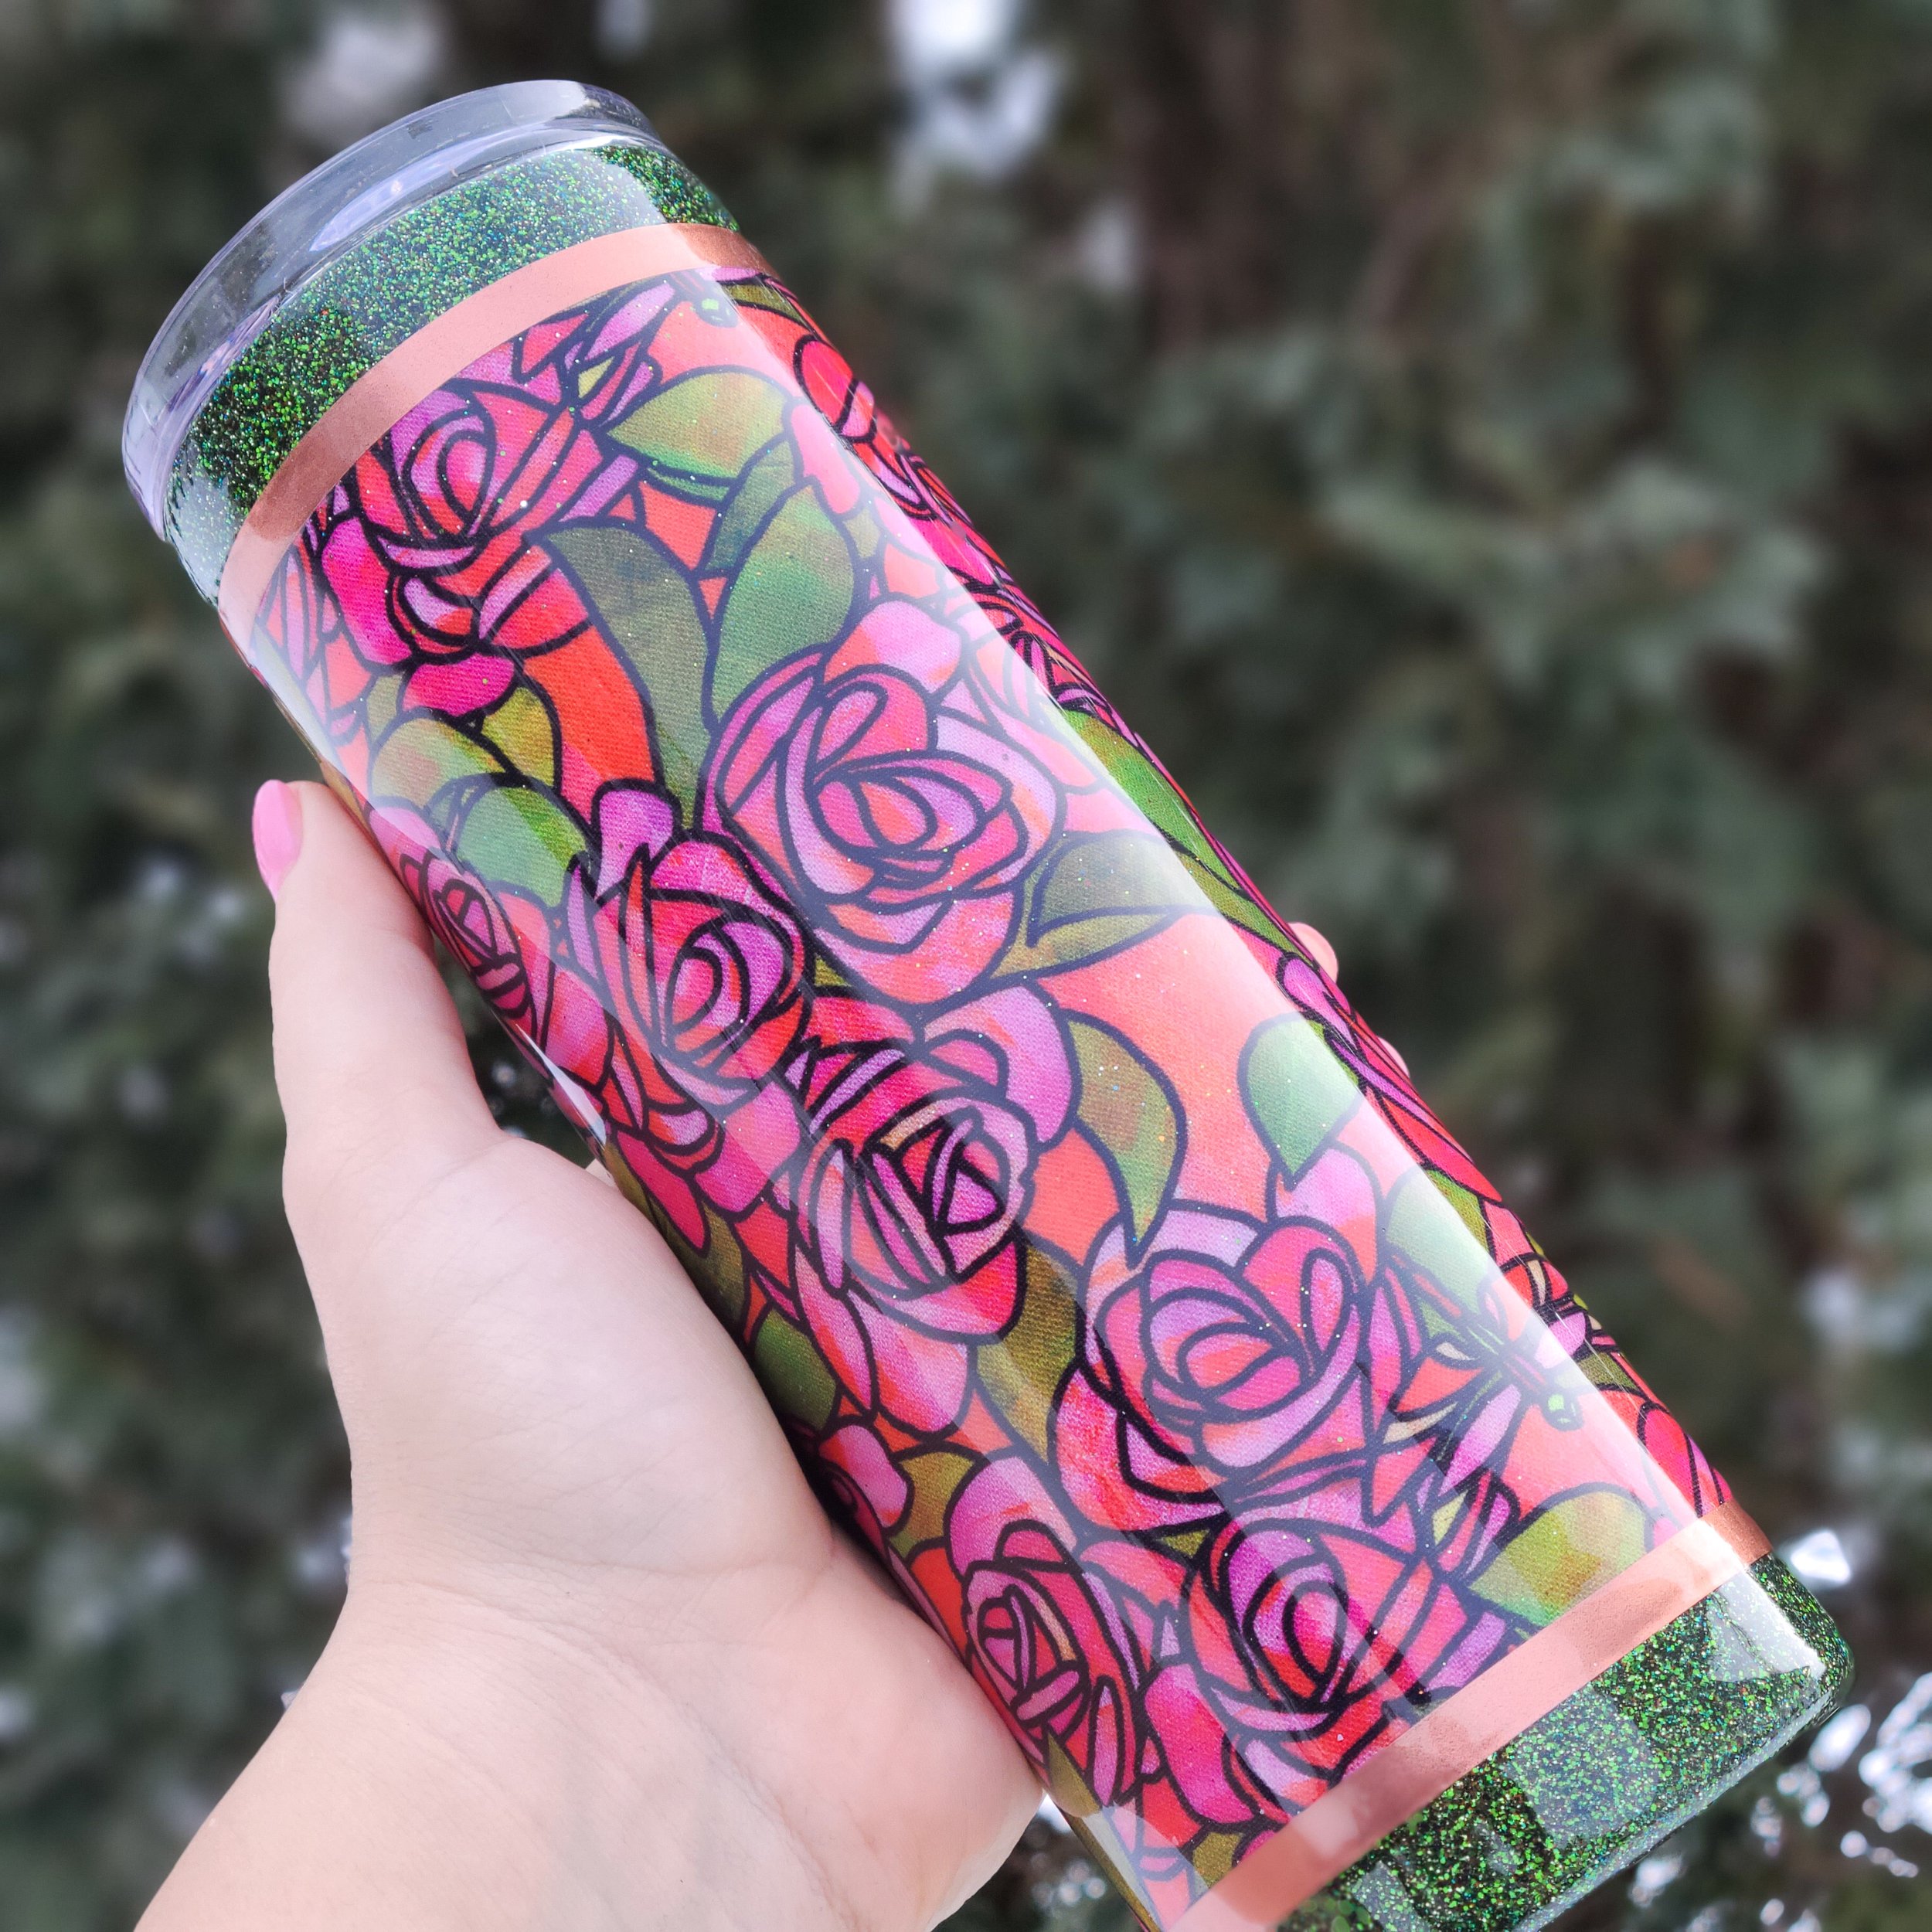
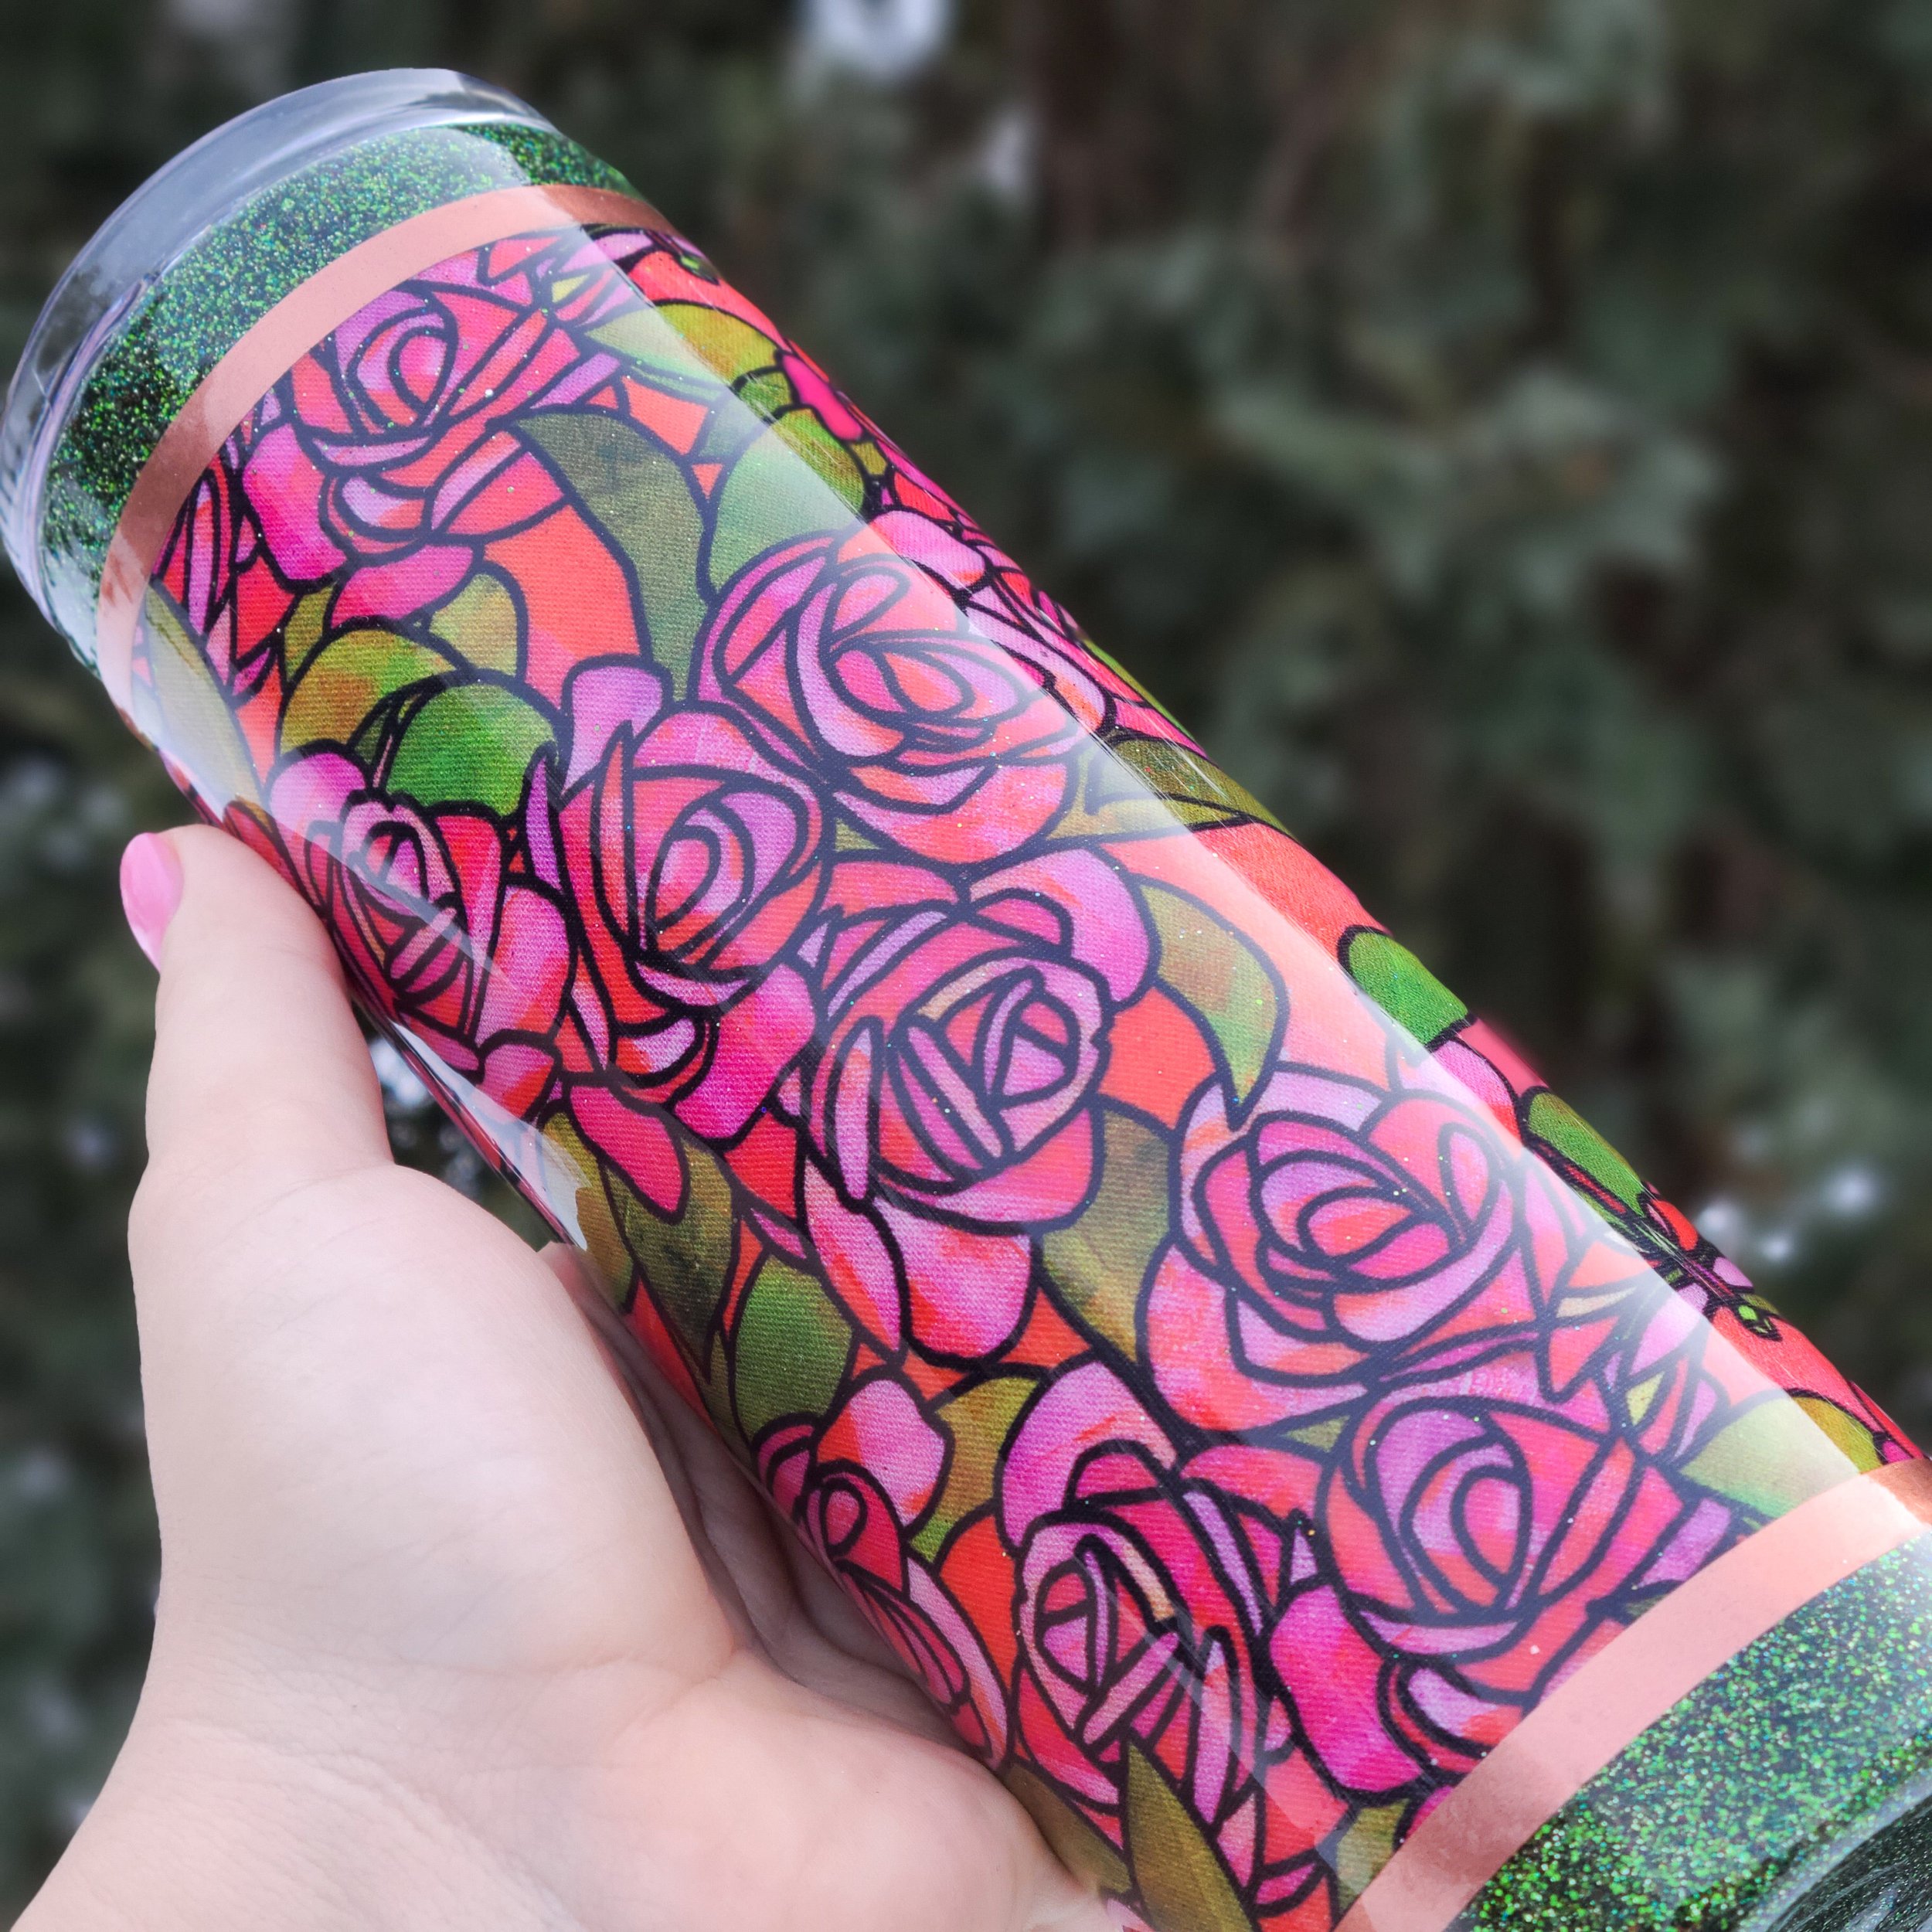
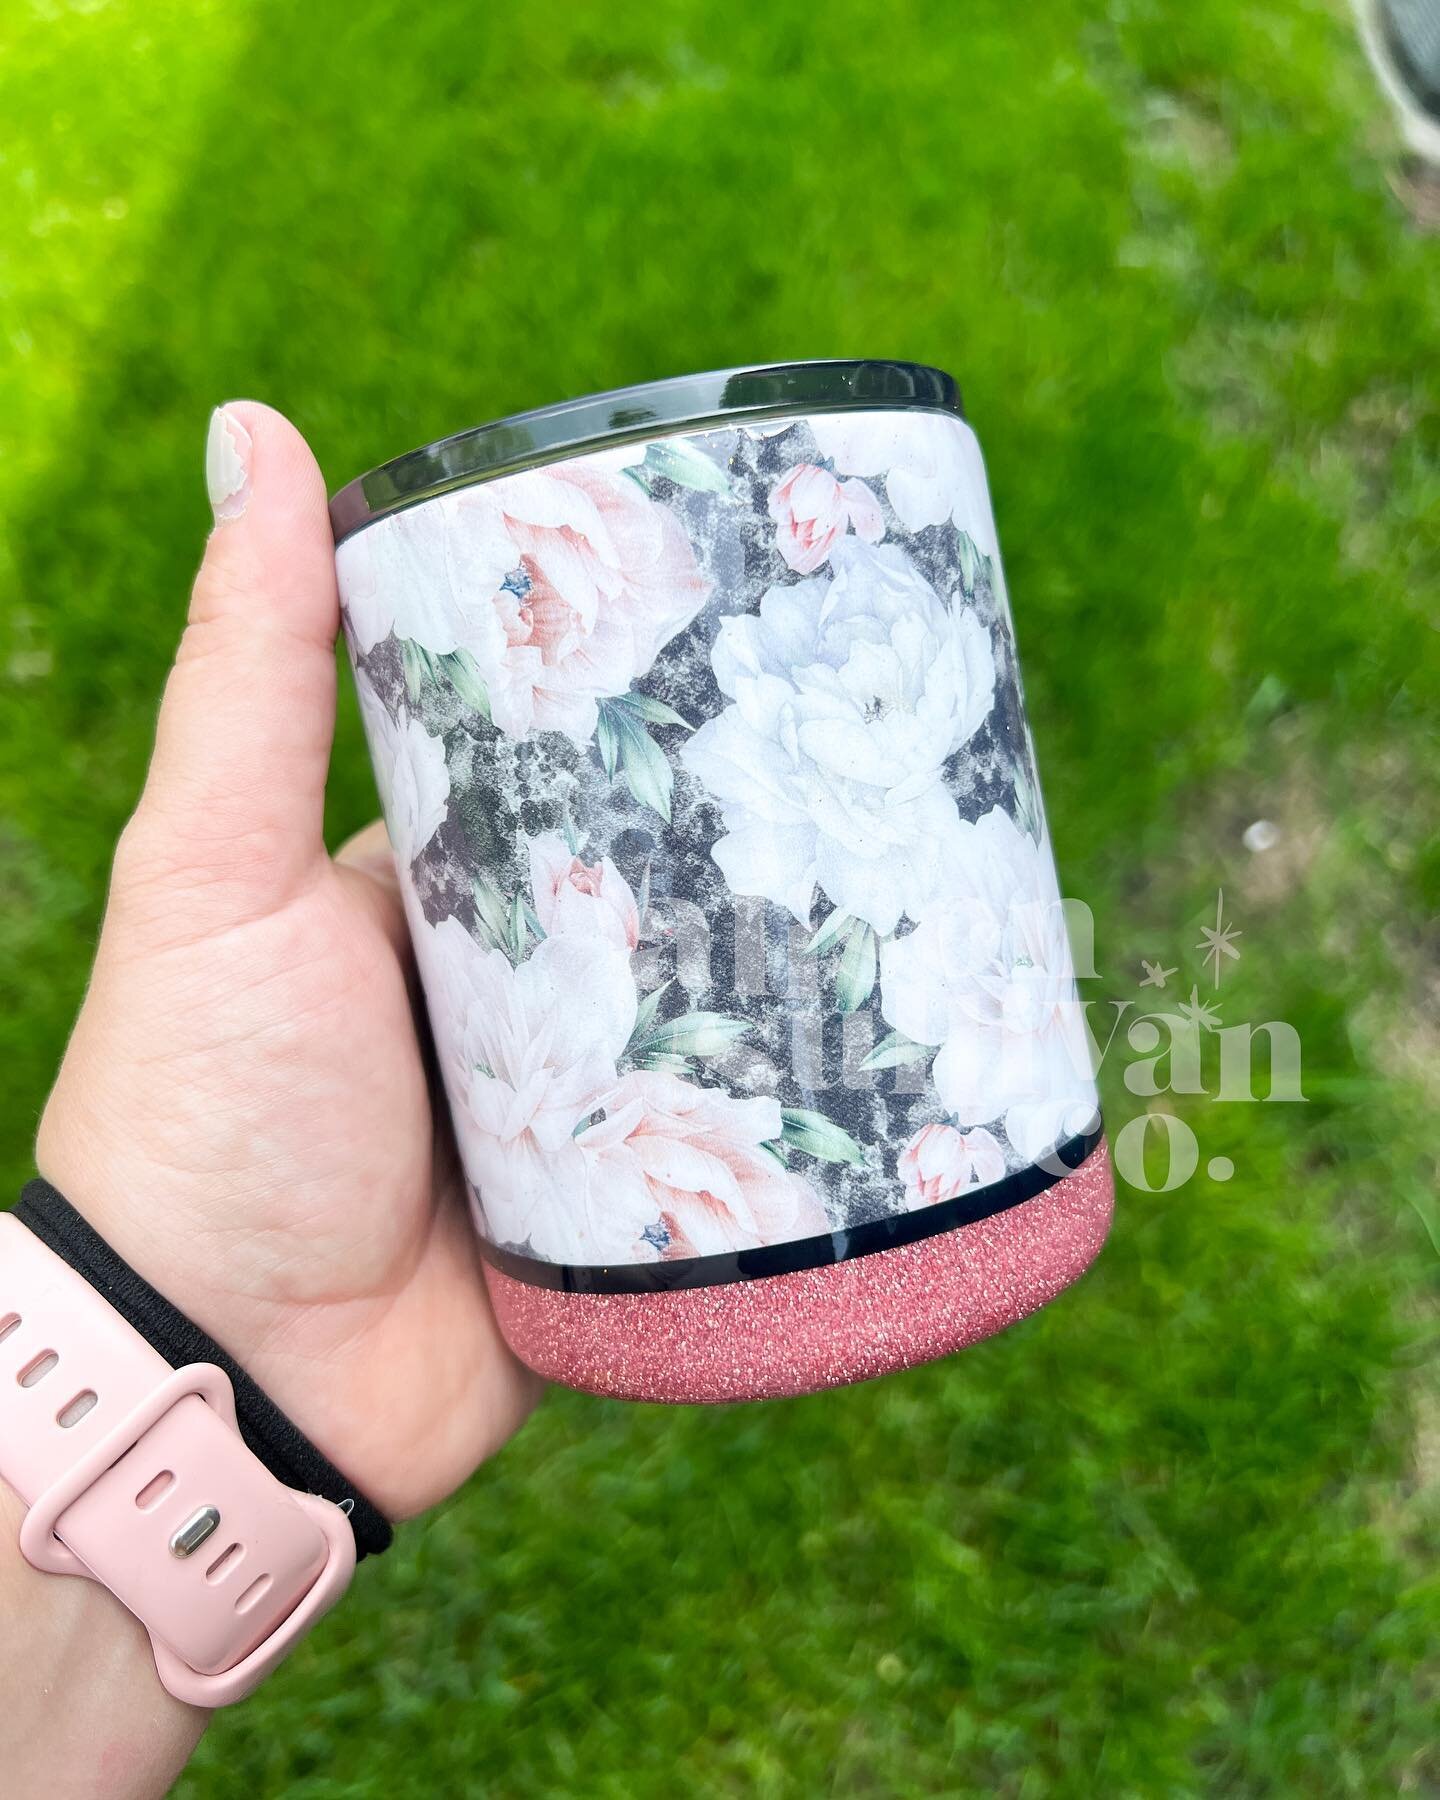
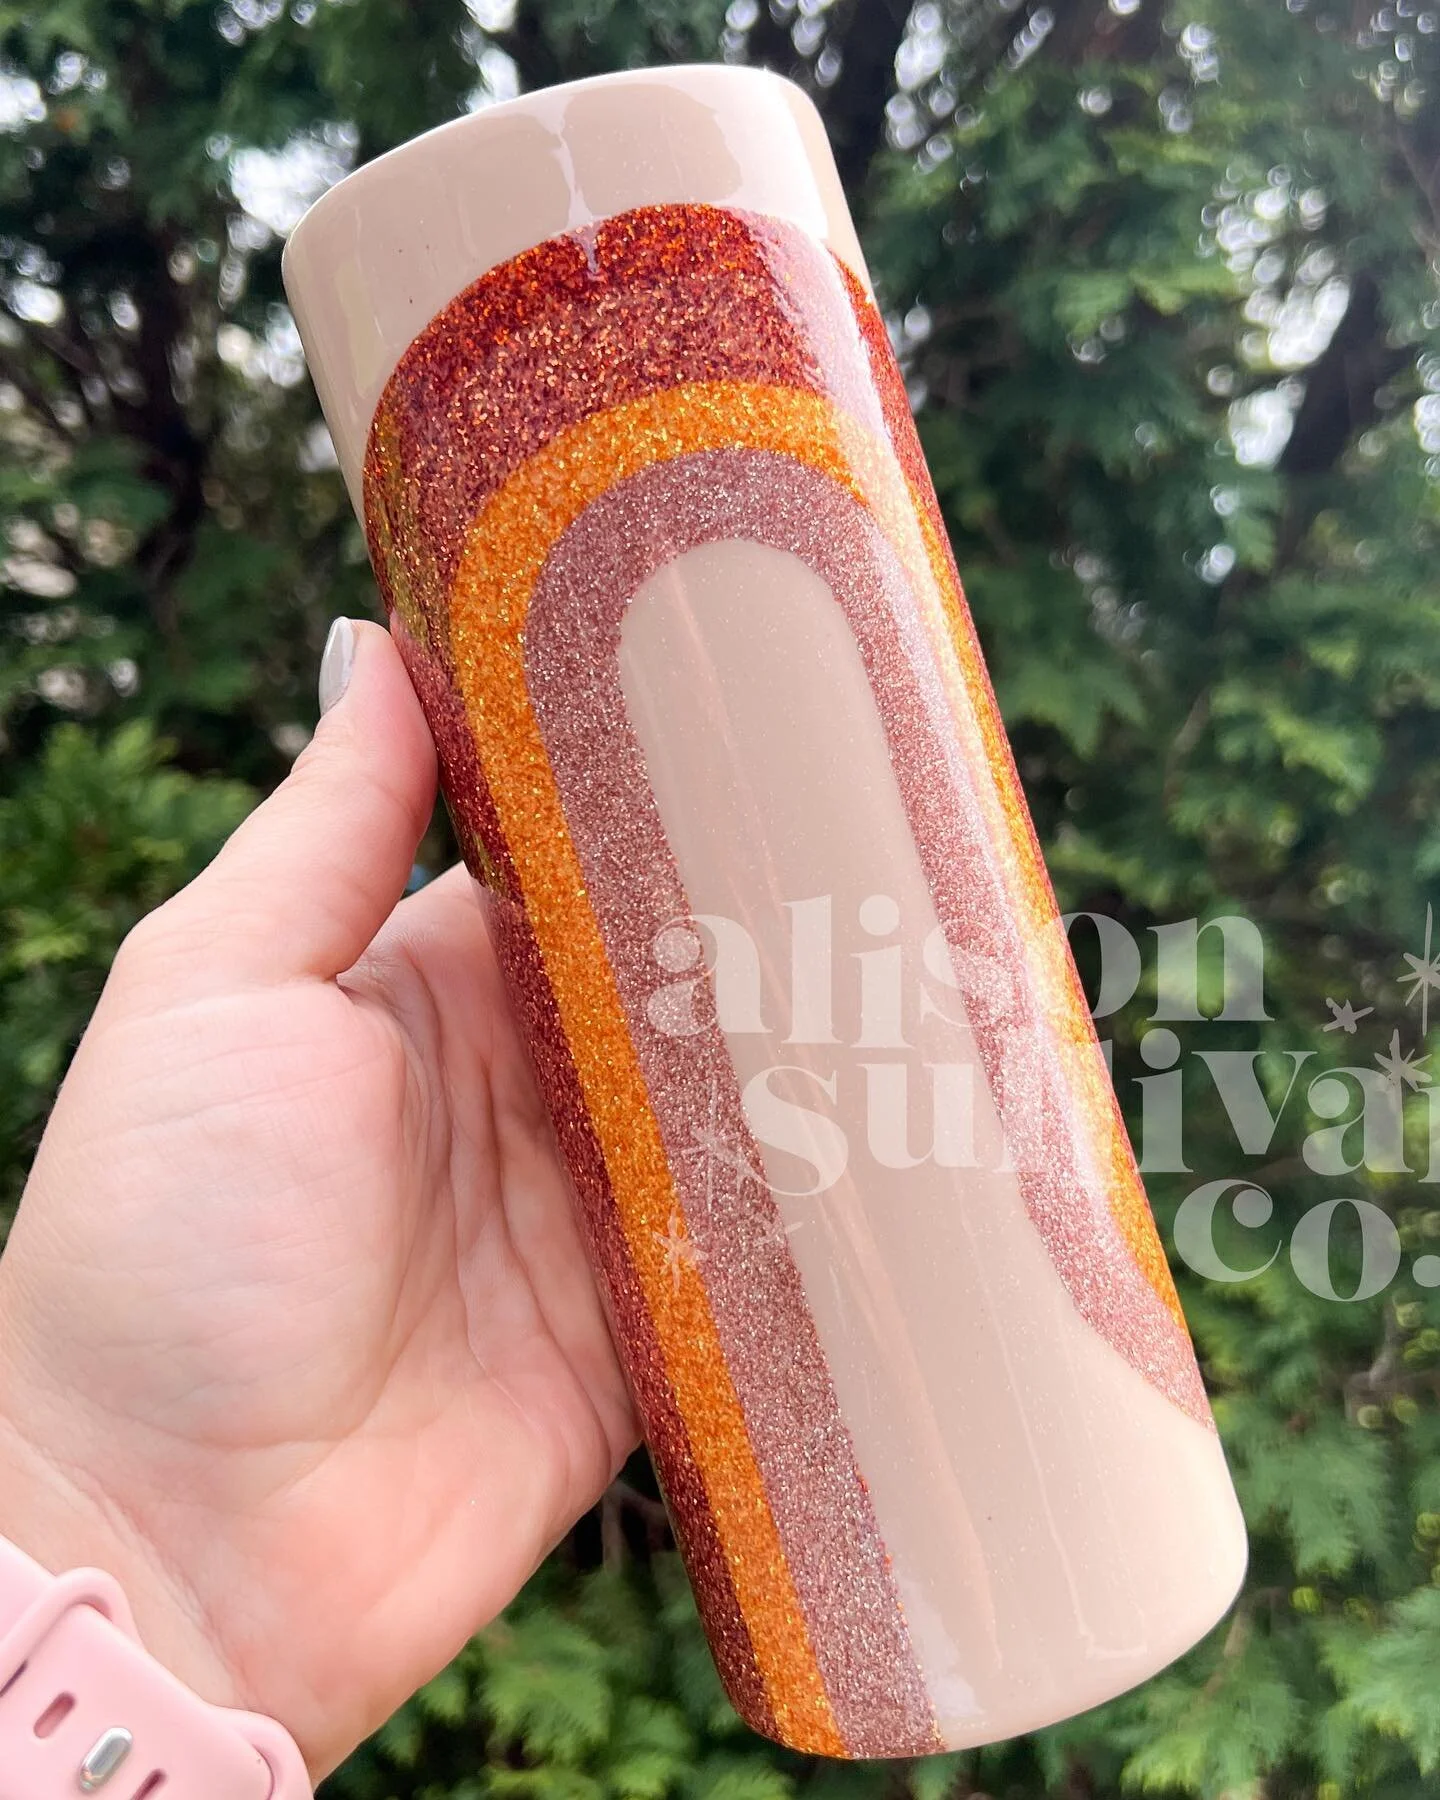
STEP 2: CUT & APPLY FABRIC
Cut your fabric first. Measure how big you want your piece and cut it before you add it to your tumbler. It’s best for the fabric to overlap about an inch after you apply it.
Use glitter glue to apply glitter. Let Dry 2 hours.
STEP 3: APPLY 3 MORE COATS OF GG.
Apply 3 more coats of glitter glue over the top of the fabric. Let each coat dry for 2 hours.
STEP 4: APPLY GLITTER
Use Brite Tone or Glitter Glue to apply your Glitter. Let Dry.
STEP 5: SEAL & FLATTEN GLITTER
Brush on glitter glue over the top of your glitter. Let dry & roll cup in parchment paper to get glitter nice and flat.
STEP 6: LAYER BRITE TONE & SAND.
Do 4 coats of brite tone and then sand over the top of your glitter. Then add 3 more coats of brite tone. and sand again. Continue until cup is smooth.
STEP 7: ADD VINYL + LAYER BRITE TONE
Apply 3-4 coats of Brite Tone letting each coat dry for 4 hours.
After you do 3-4 coats of BT, let it dry over night. Then do a light sand with 400 grit sand paper ONLY OVER THE VINYL. then follow up with a few more coats of BT until you are happy with how it looks!
STEP 8: CLEAN THE RIM
Once you’re satisfied with your finish, clean the rim! Let the cup dry for 5 days before giving it to it’s new home!
Watch Full Tutorial on YouTube:
Let’s Connect on Instagram


Secondary Blog Cover Photo