
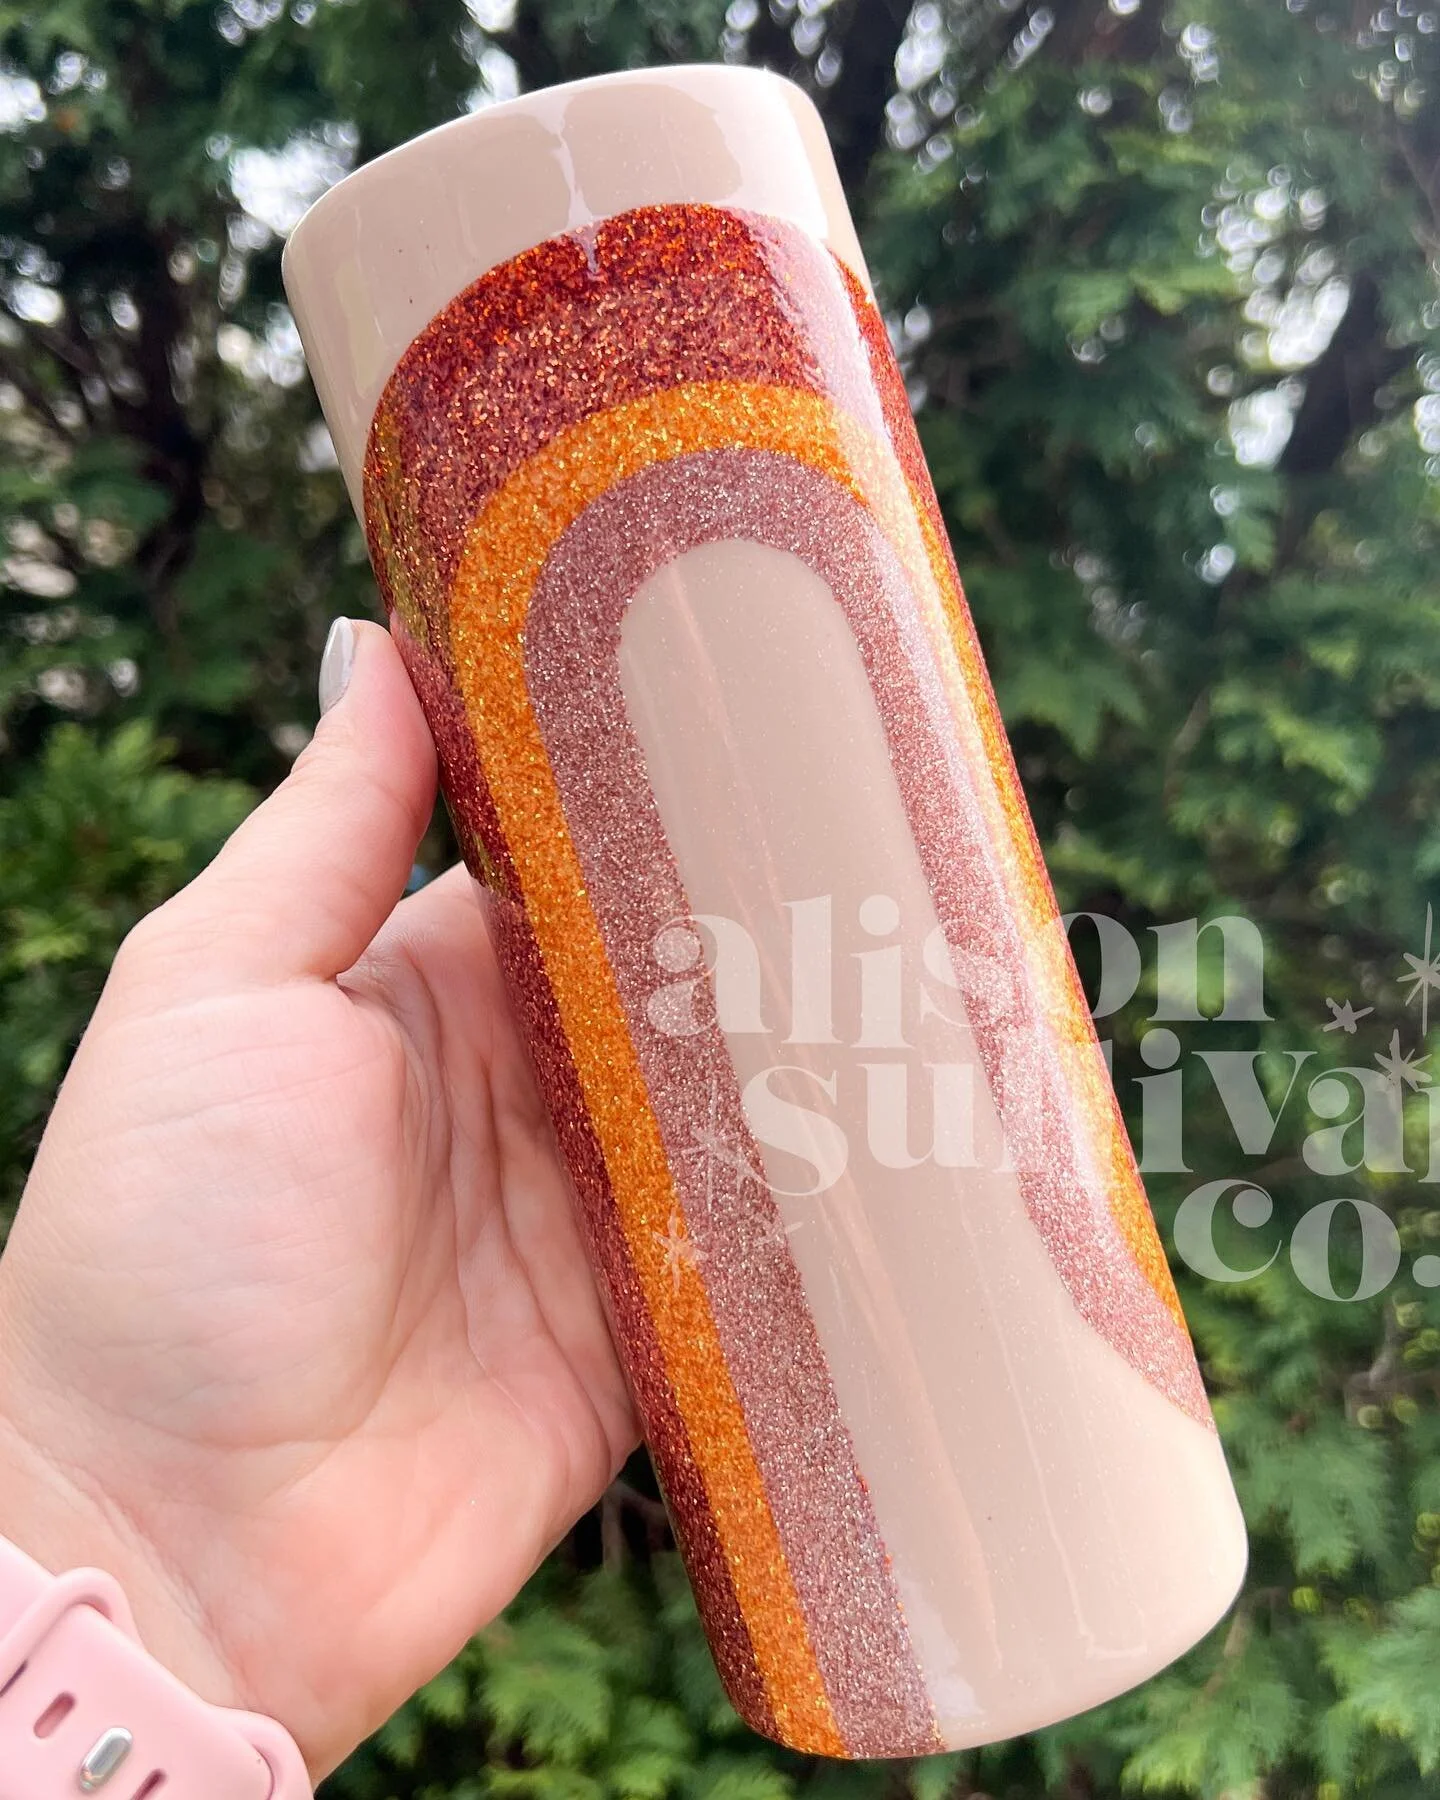
Rose Gold Foil Tumbler Tutorial
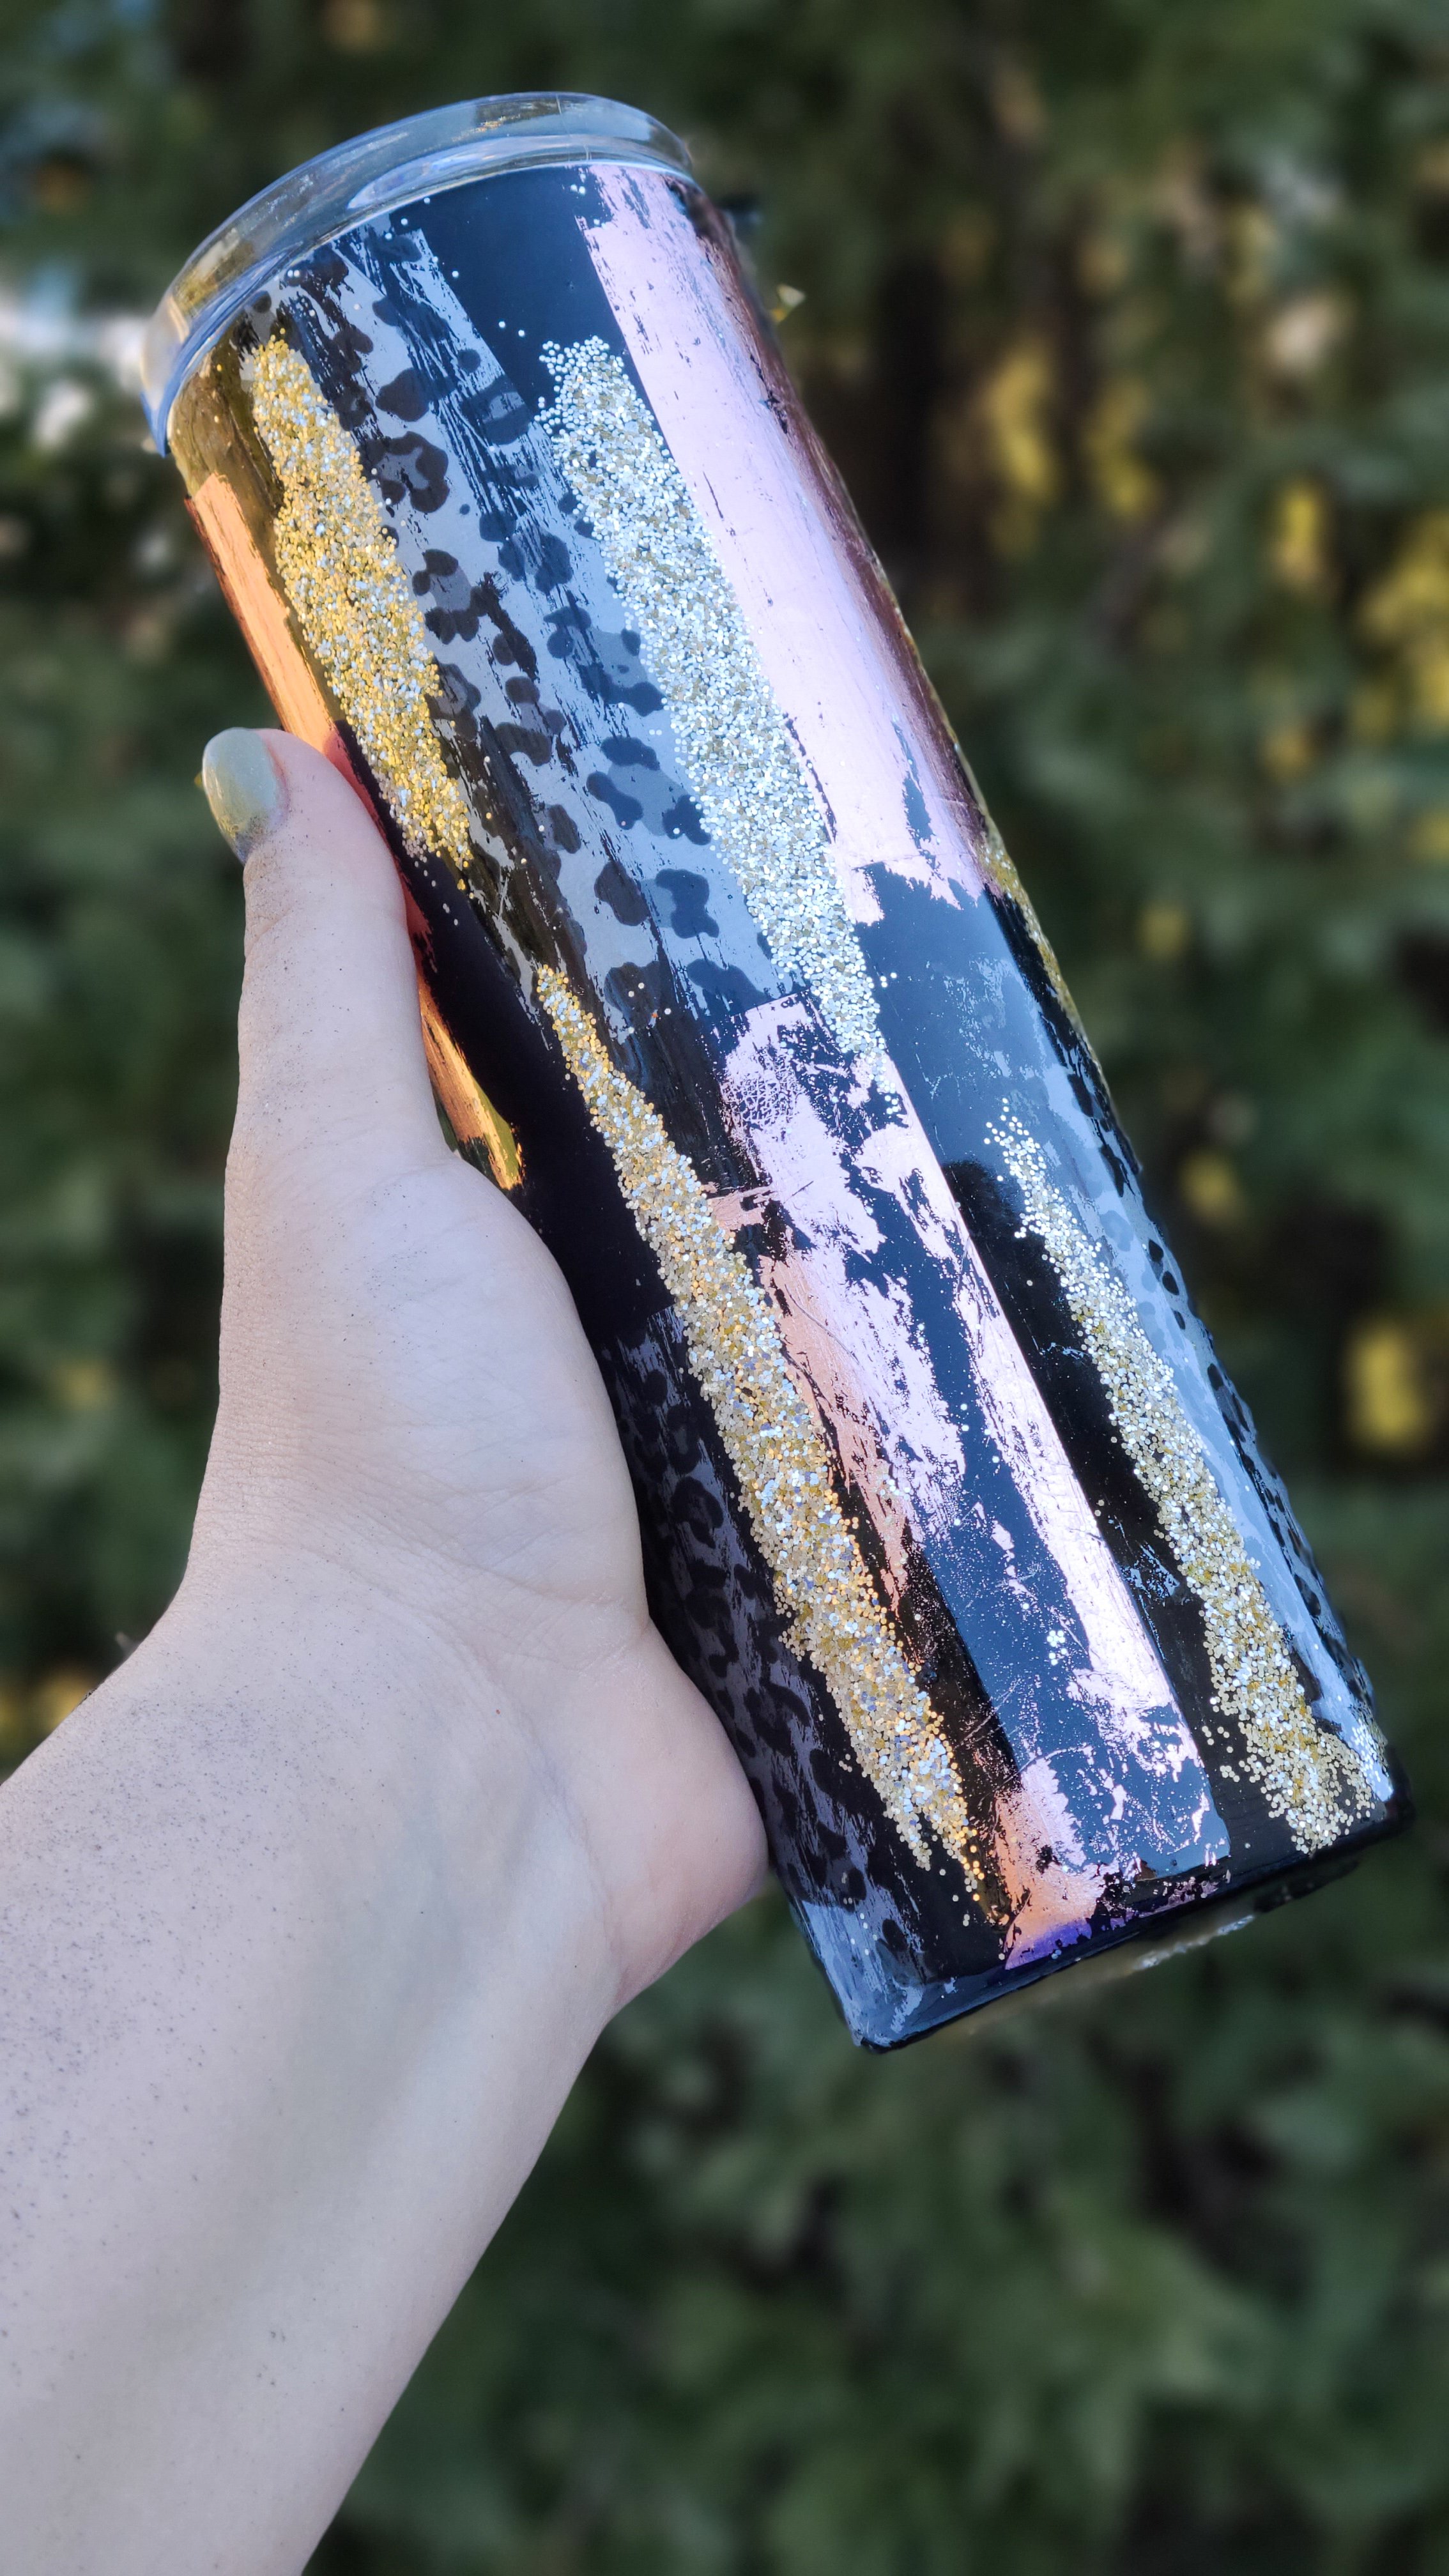
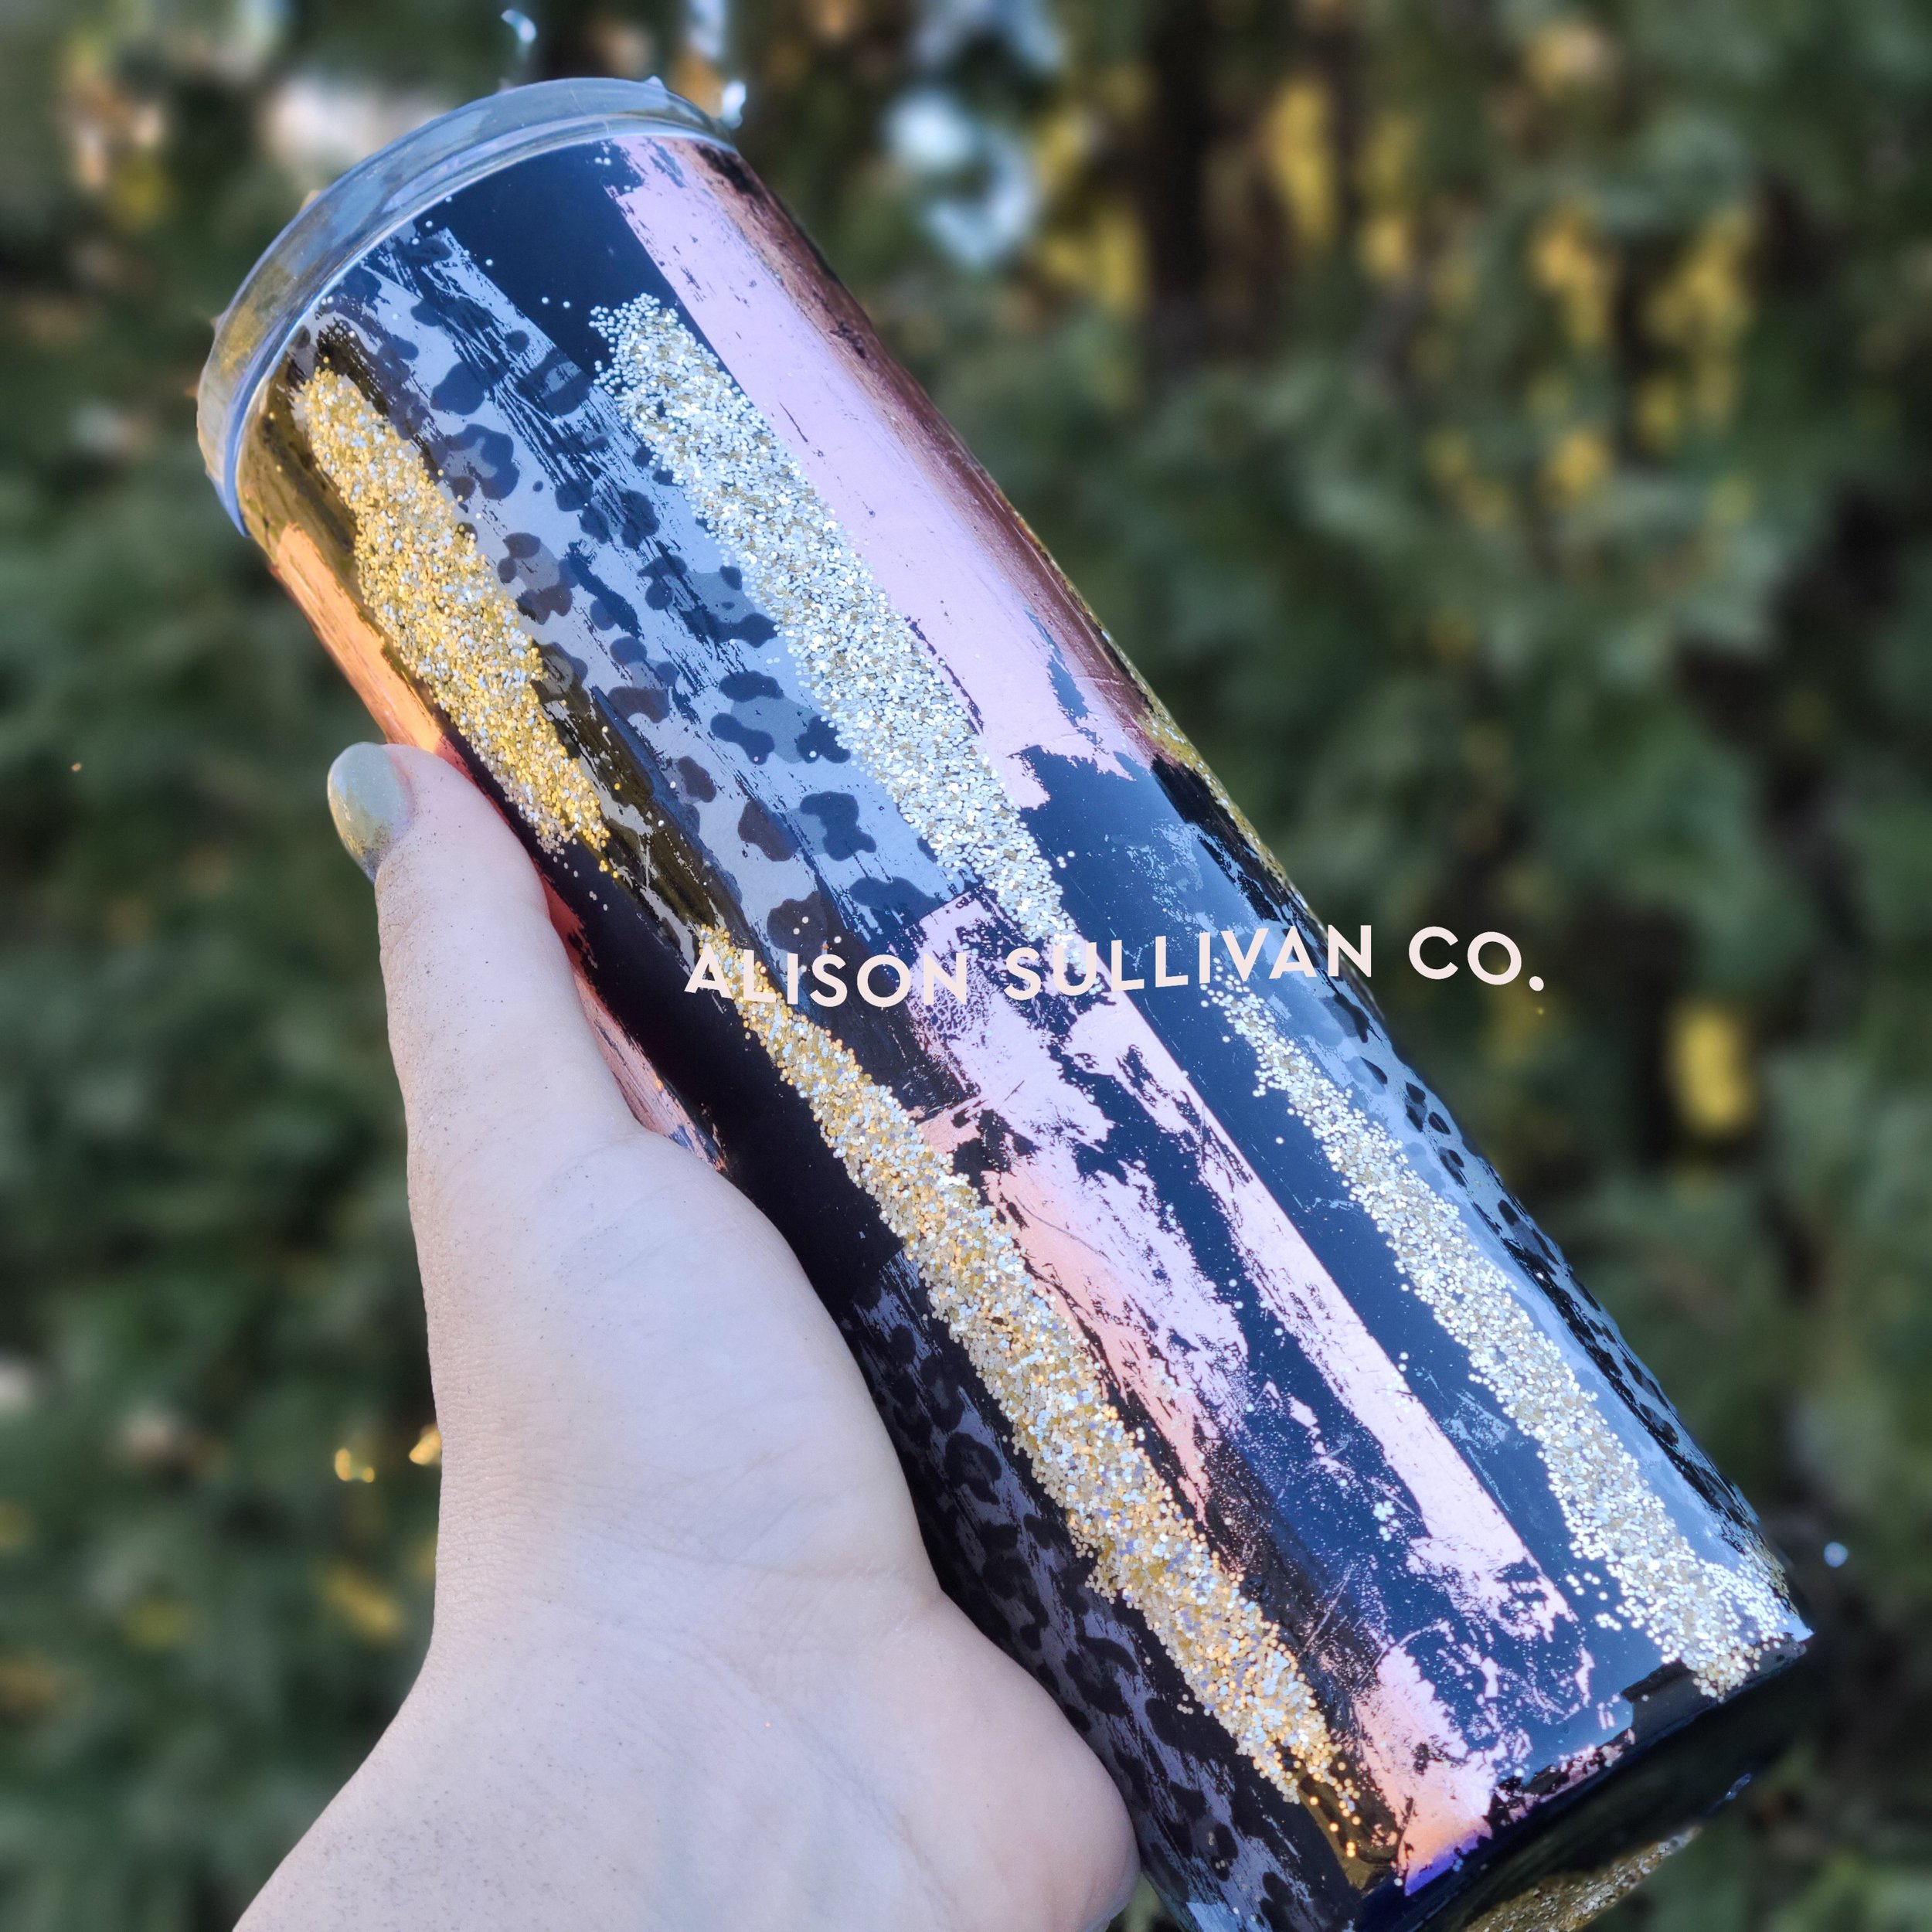
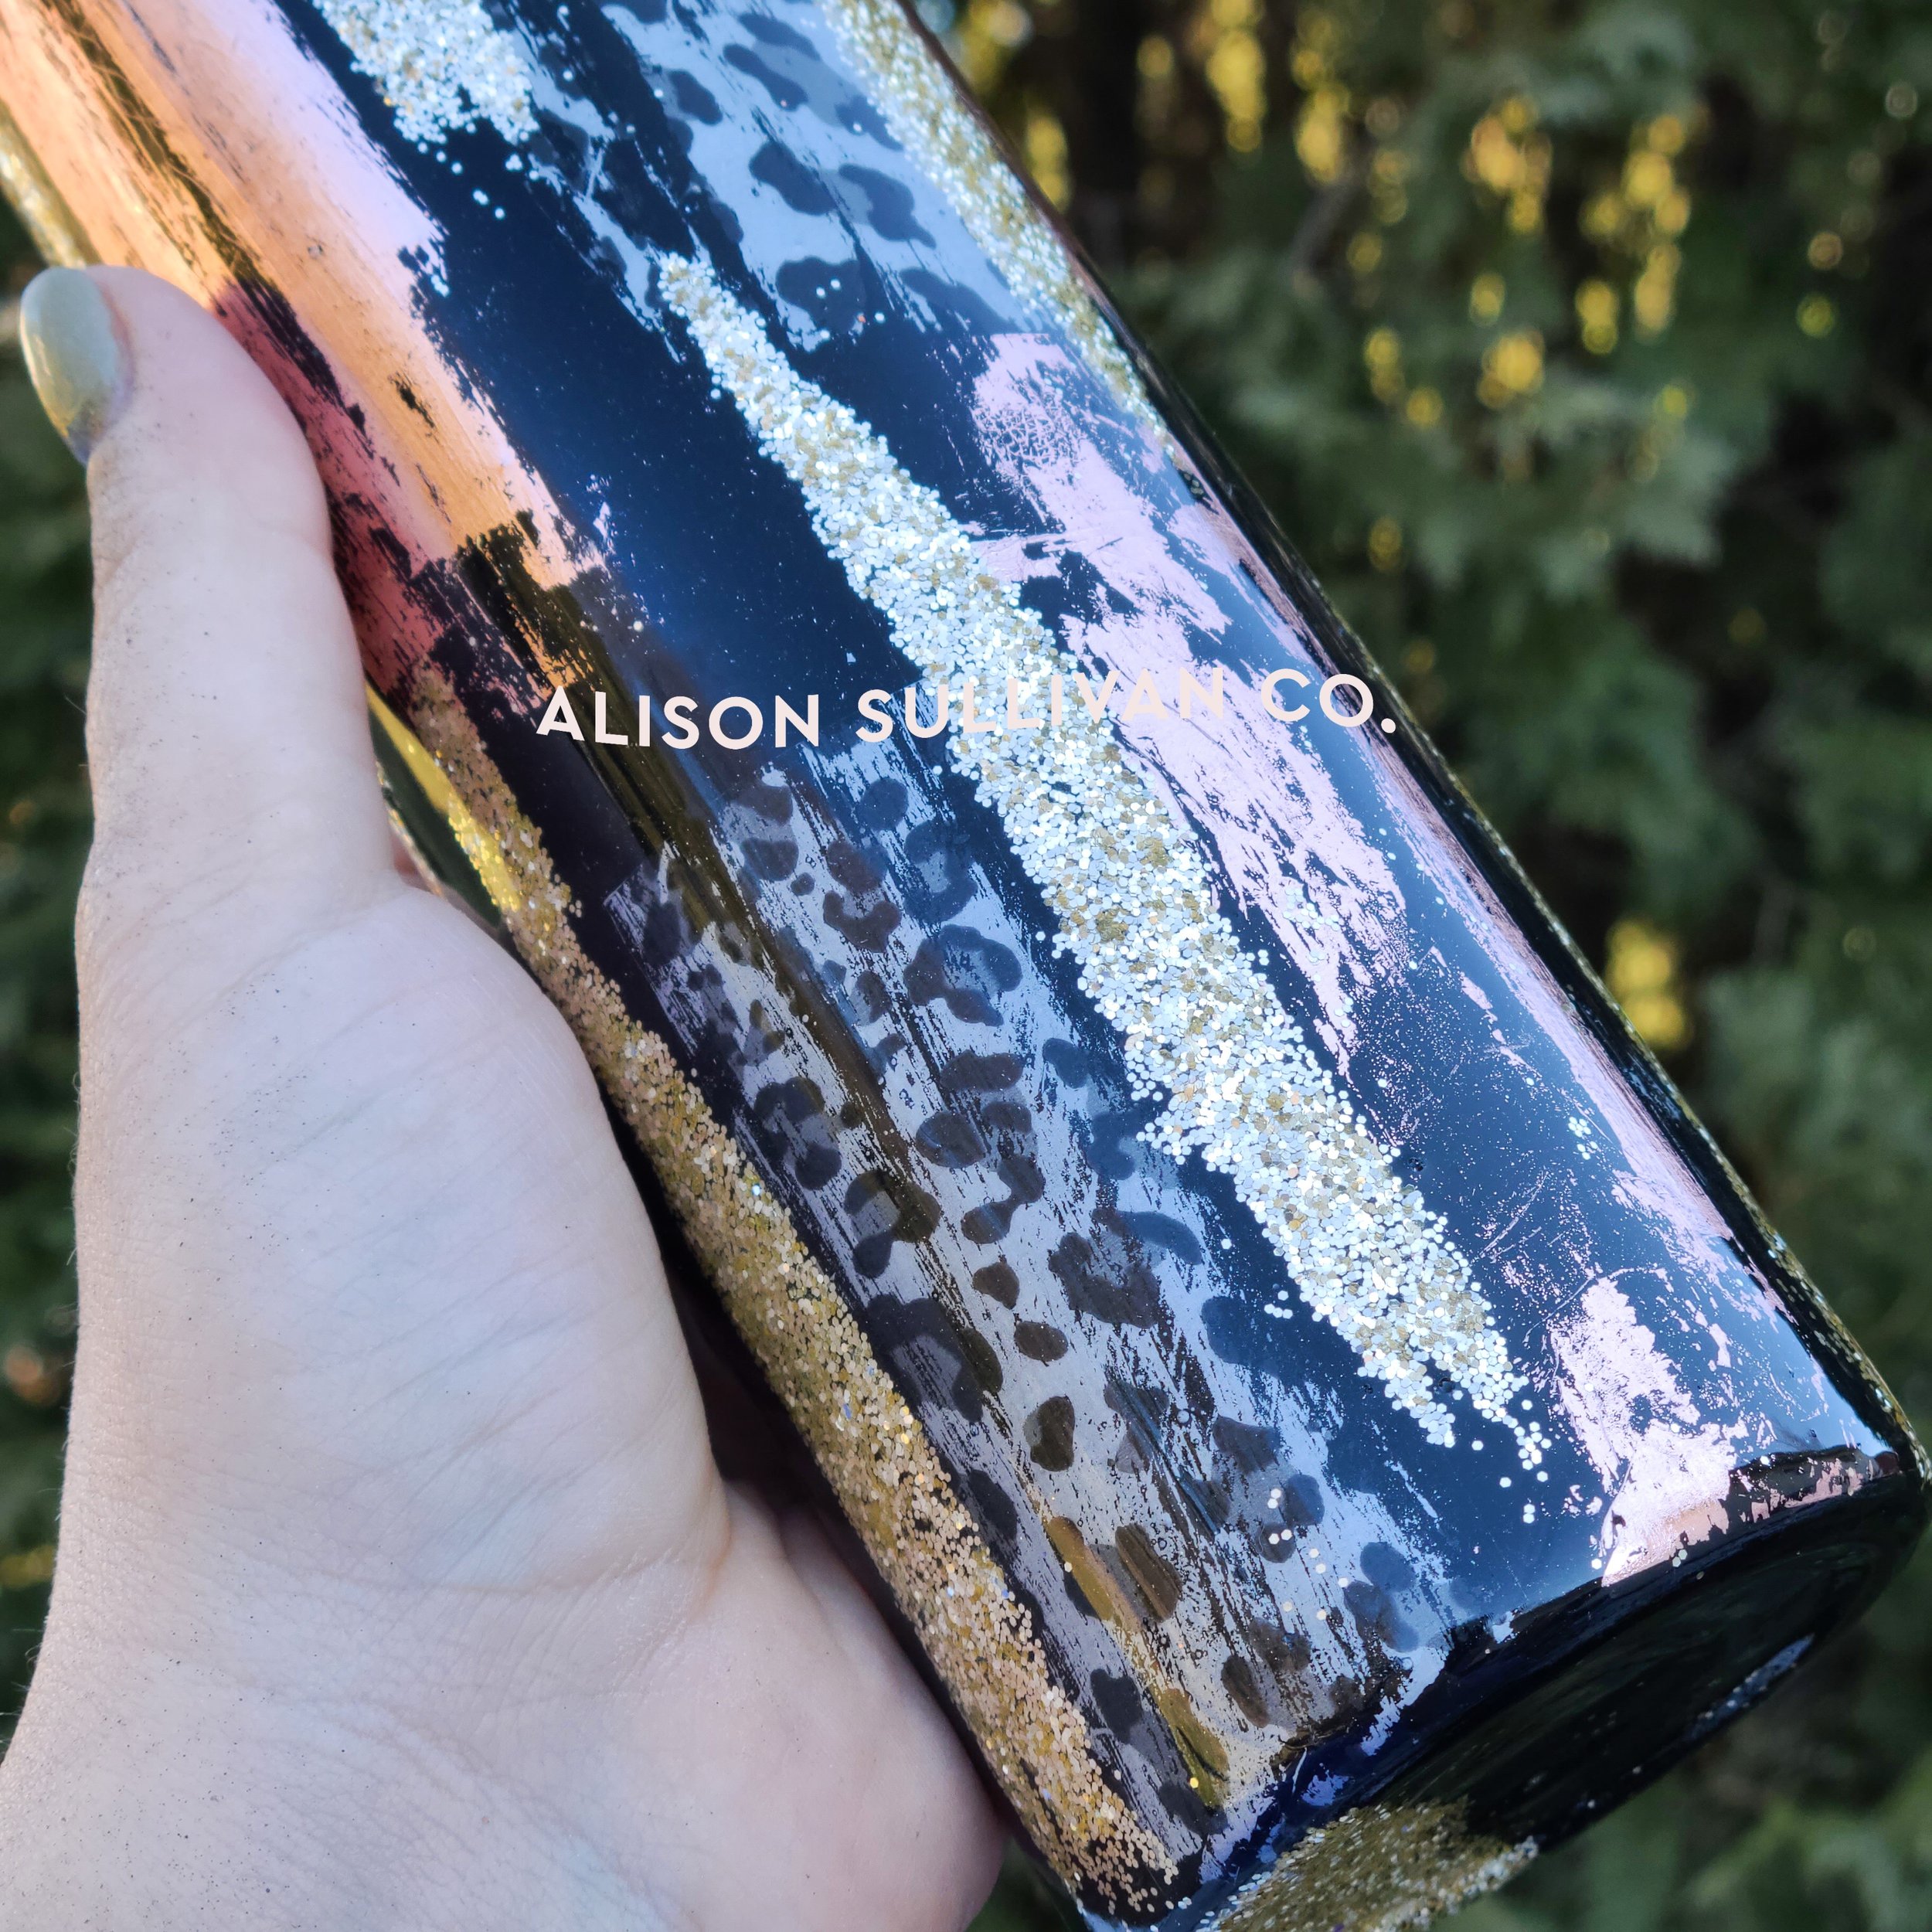
Adding Foils to your tumblers is such a fun way to add both a fun texture but also design to your tumblers. In this tutorial, I just added my foils and glitter right onto a black painted base but you can also add them on top of your glitter to make even more fun textured designs.

Recommended Supplies
Stainless Steel Tumblers (discount code: alisoncrafts)
Glitzy Kreations Glitter (Discount Code: alison10)
Glitter Dipped Sips Glitter (Discount Code: alisoncrafts10)
STEPS
STEP 1: PREP YOUR SURFACE
Prep is important for any project. Sand with 220 Grit Sand paper to prep your tumbler. Watch here for a demonstration.
STEP 2: ADD BASE COAT
I used spray paint for this tumbler, but you could use Universal Black if you prefer. I like the flat black from Rustoleum and make sure you let it dry for 48 hours. I also did a few coats of Brite Tone (or Grande Finale) before I added my foils.
STEP 3: ADD FOILS
Cut foils into strips so you can place them easily.
Brush on glitter glue and let it dry just until clear. Apply foils around the cup and burnish with felt edge squeegee tool (or with a cloth and your finger)
Apply a bit of heat from a heat gun, and burnish one more time.
Peel up transfer sheets.
STEP 4: APPLY GLITTER
Use a foam brush to do long brush strokes of your glitter glue, then add the Goldella gold glitter from Glitzy Kreations.
Let dry 2 hours.
STEP 5: LAYER BRITE TONE or GRANDE FINALE
Now you’re ready for your BT layers! Apply 4-5 coats of Brite Tone letting each coat dry for 4 hours. (Or you can use Grande Finale)
STEP 6: FIRST SAND
After you do 5 coats of BT, let it dry over night. Then do a light sand with 400 grit sand paper.
Continue adding coats of BT (sanding every 3 coats) until you have a smooth surface.
STEP 7: LAYER BRITE TONE or GRANDE FINALE
Apply 3-4 coats of Brite Tone letting each coat dry for 4 hours.
After you do 3-4 coats of BT, let it dry over night. Then do a light sand with 400 grit sand paper ONLY OVER THE GLITTER then follow up with a few more coats of BT until you are happy with how it looks!
STEP 8: CLEAN THE RIM
Once you’re satisfied with your finish, clean the rim! Let the cup dry for 5 days before giving it to it’s new home!
Watch Full Tutorial on YouTube:
Let’s Connect on Instagram


Secondary Blog Cover Photo