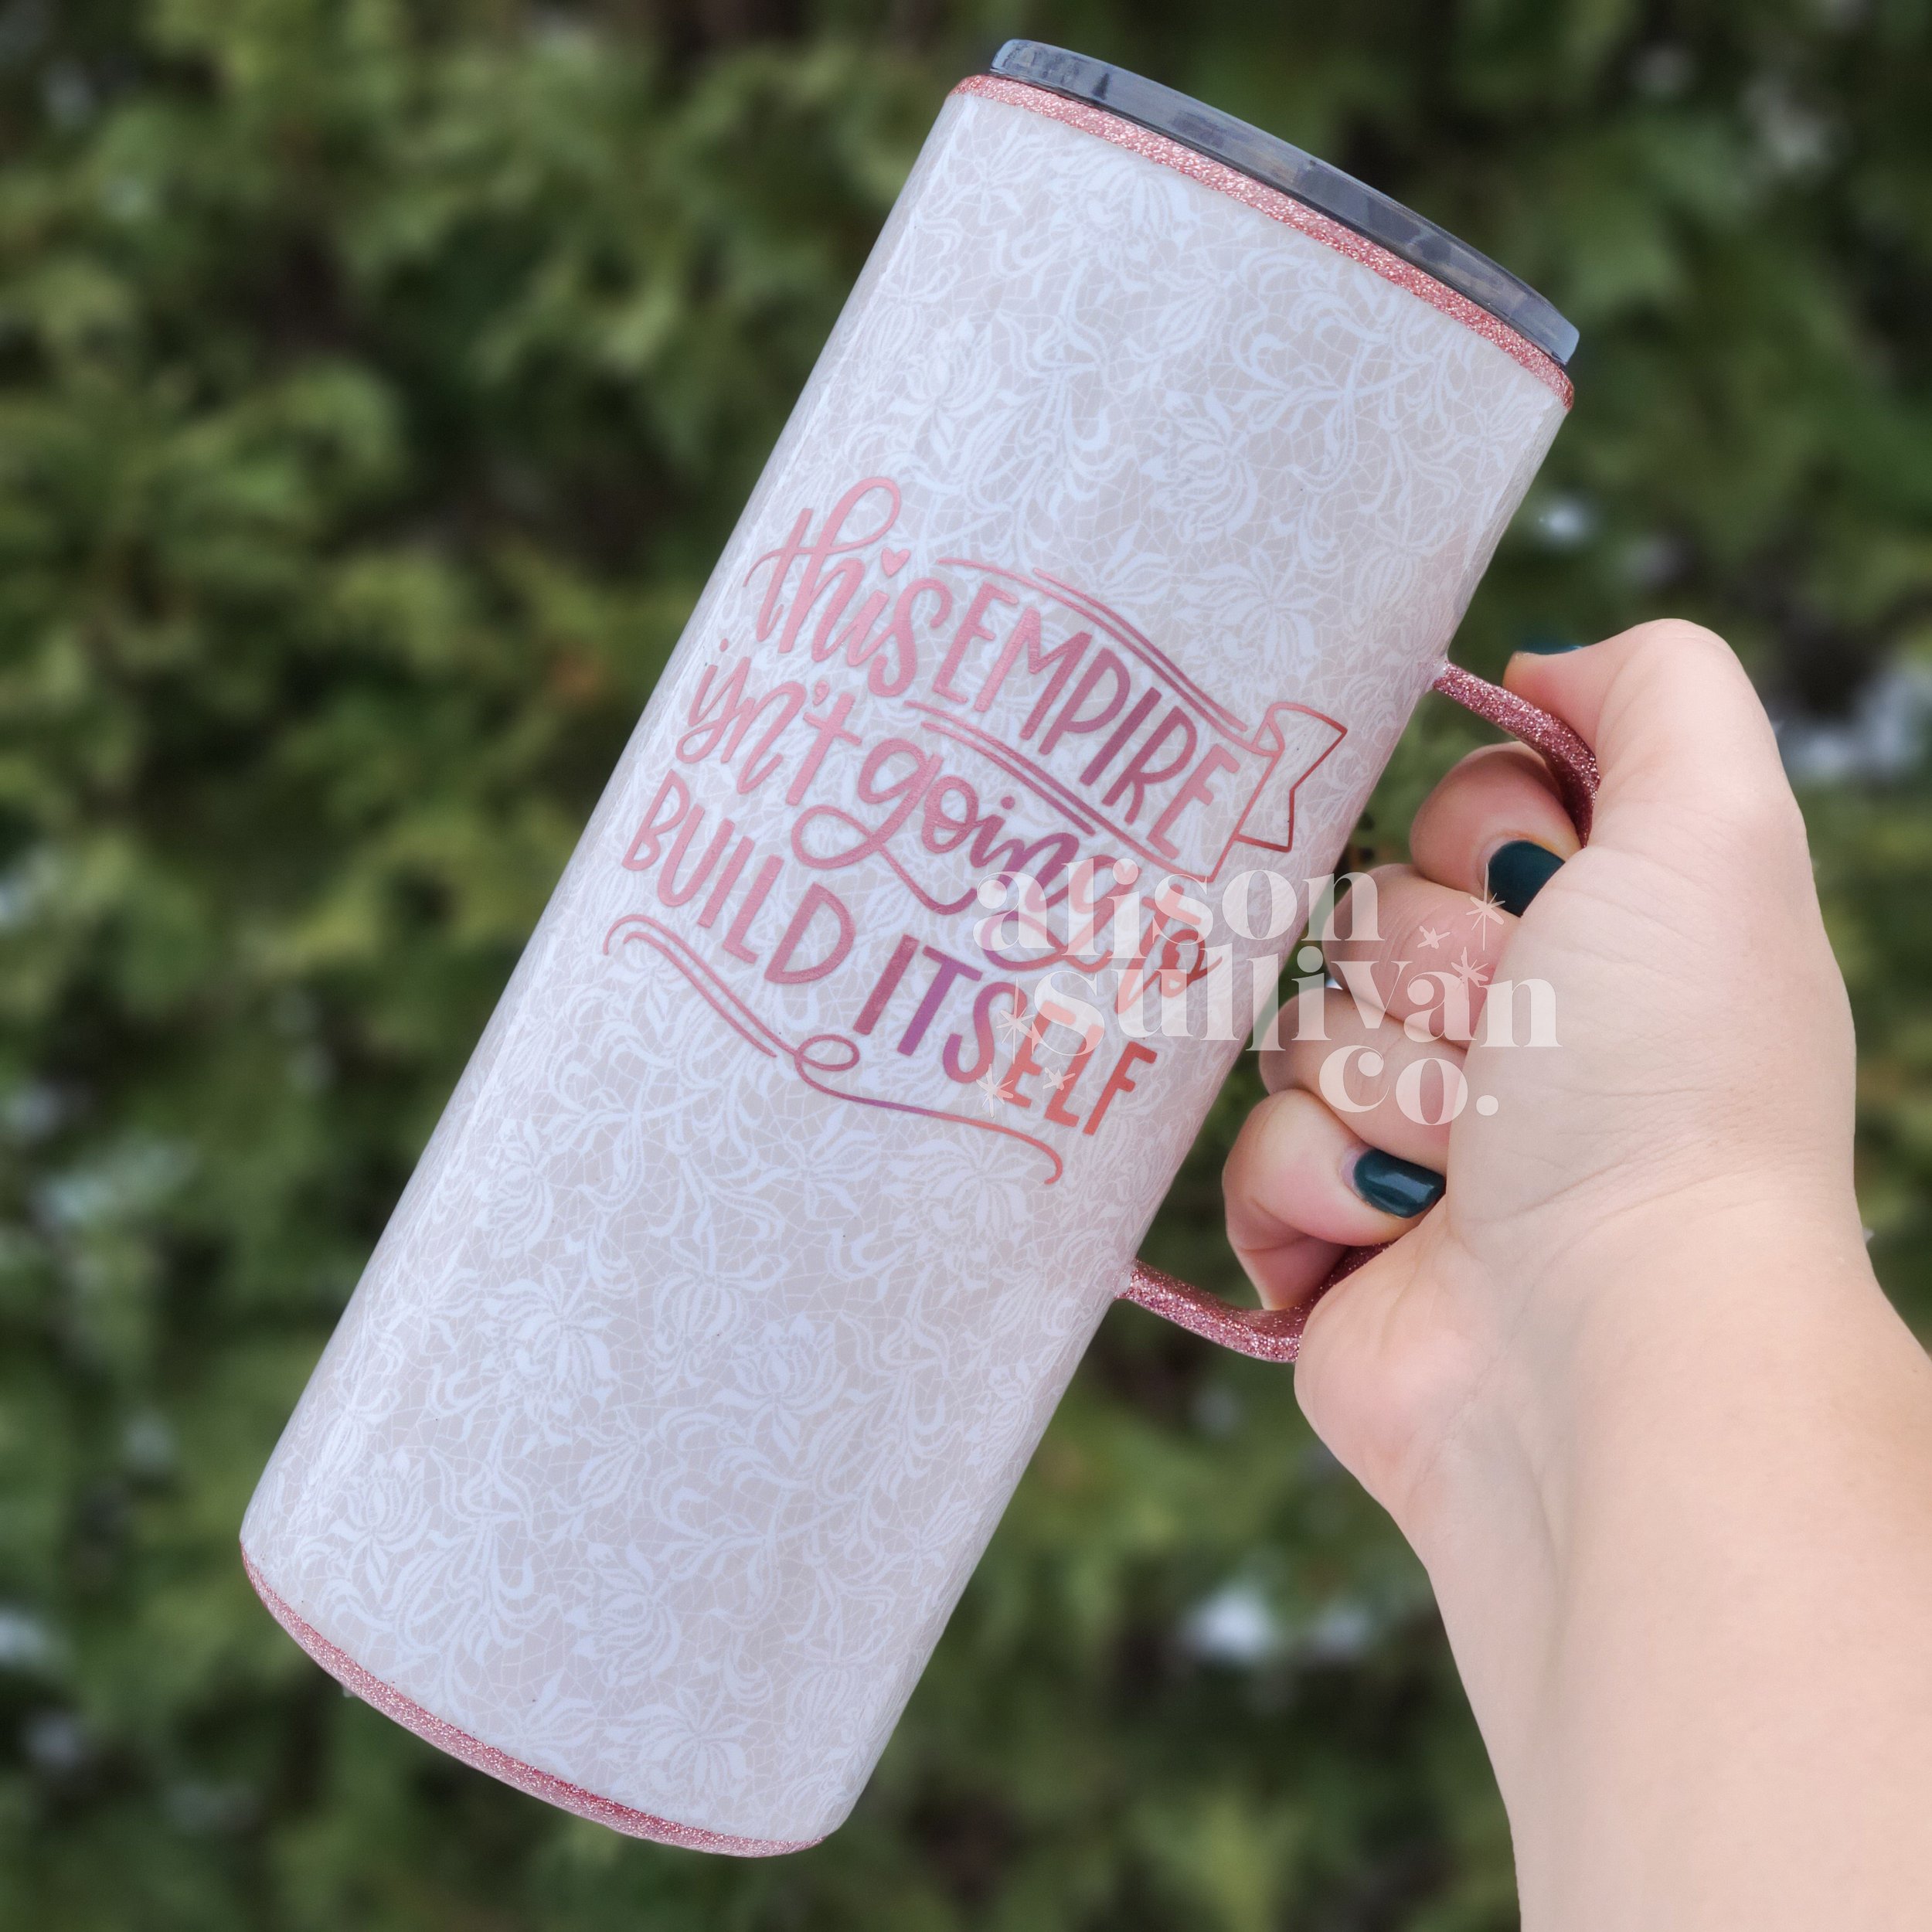
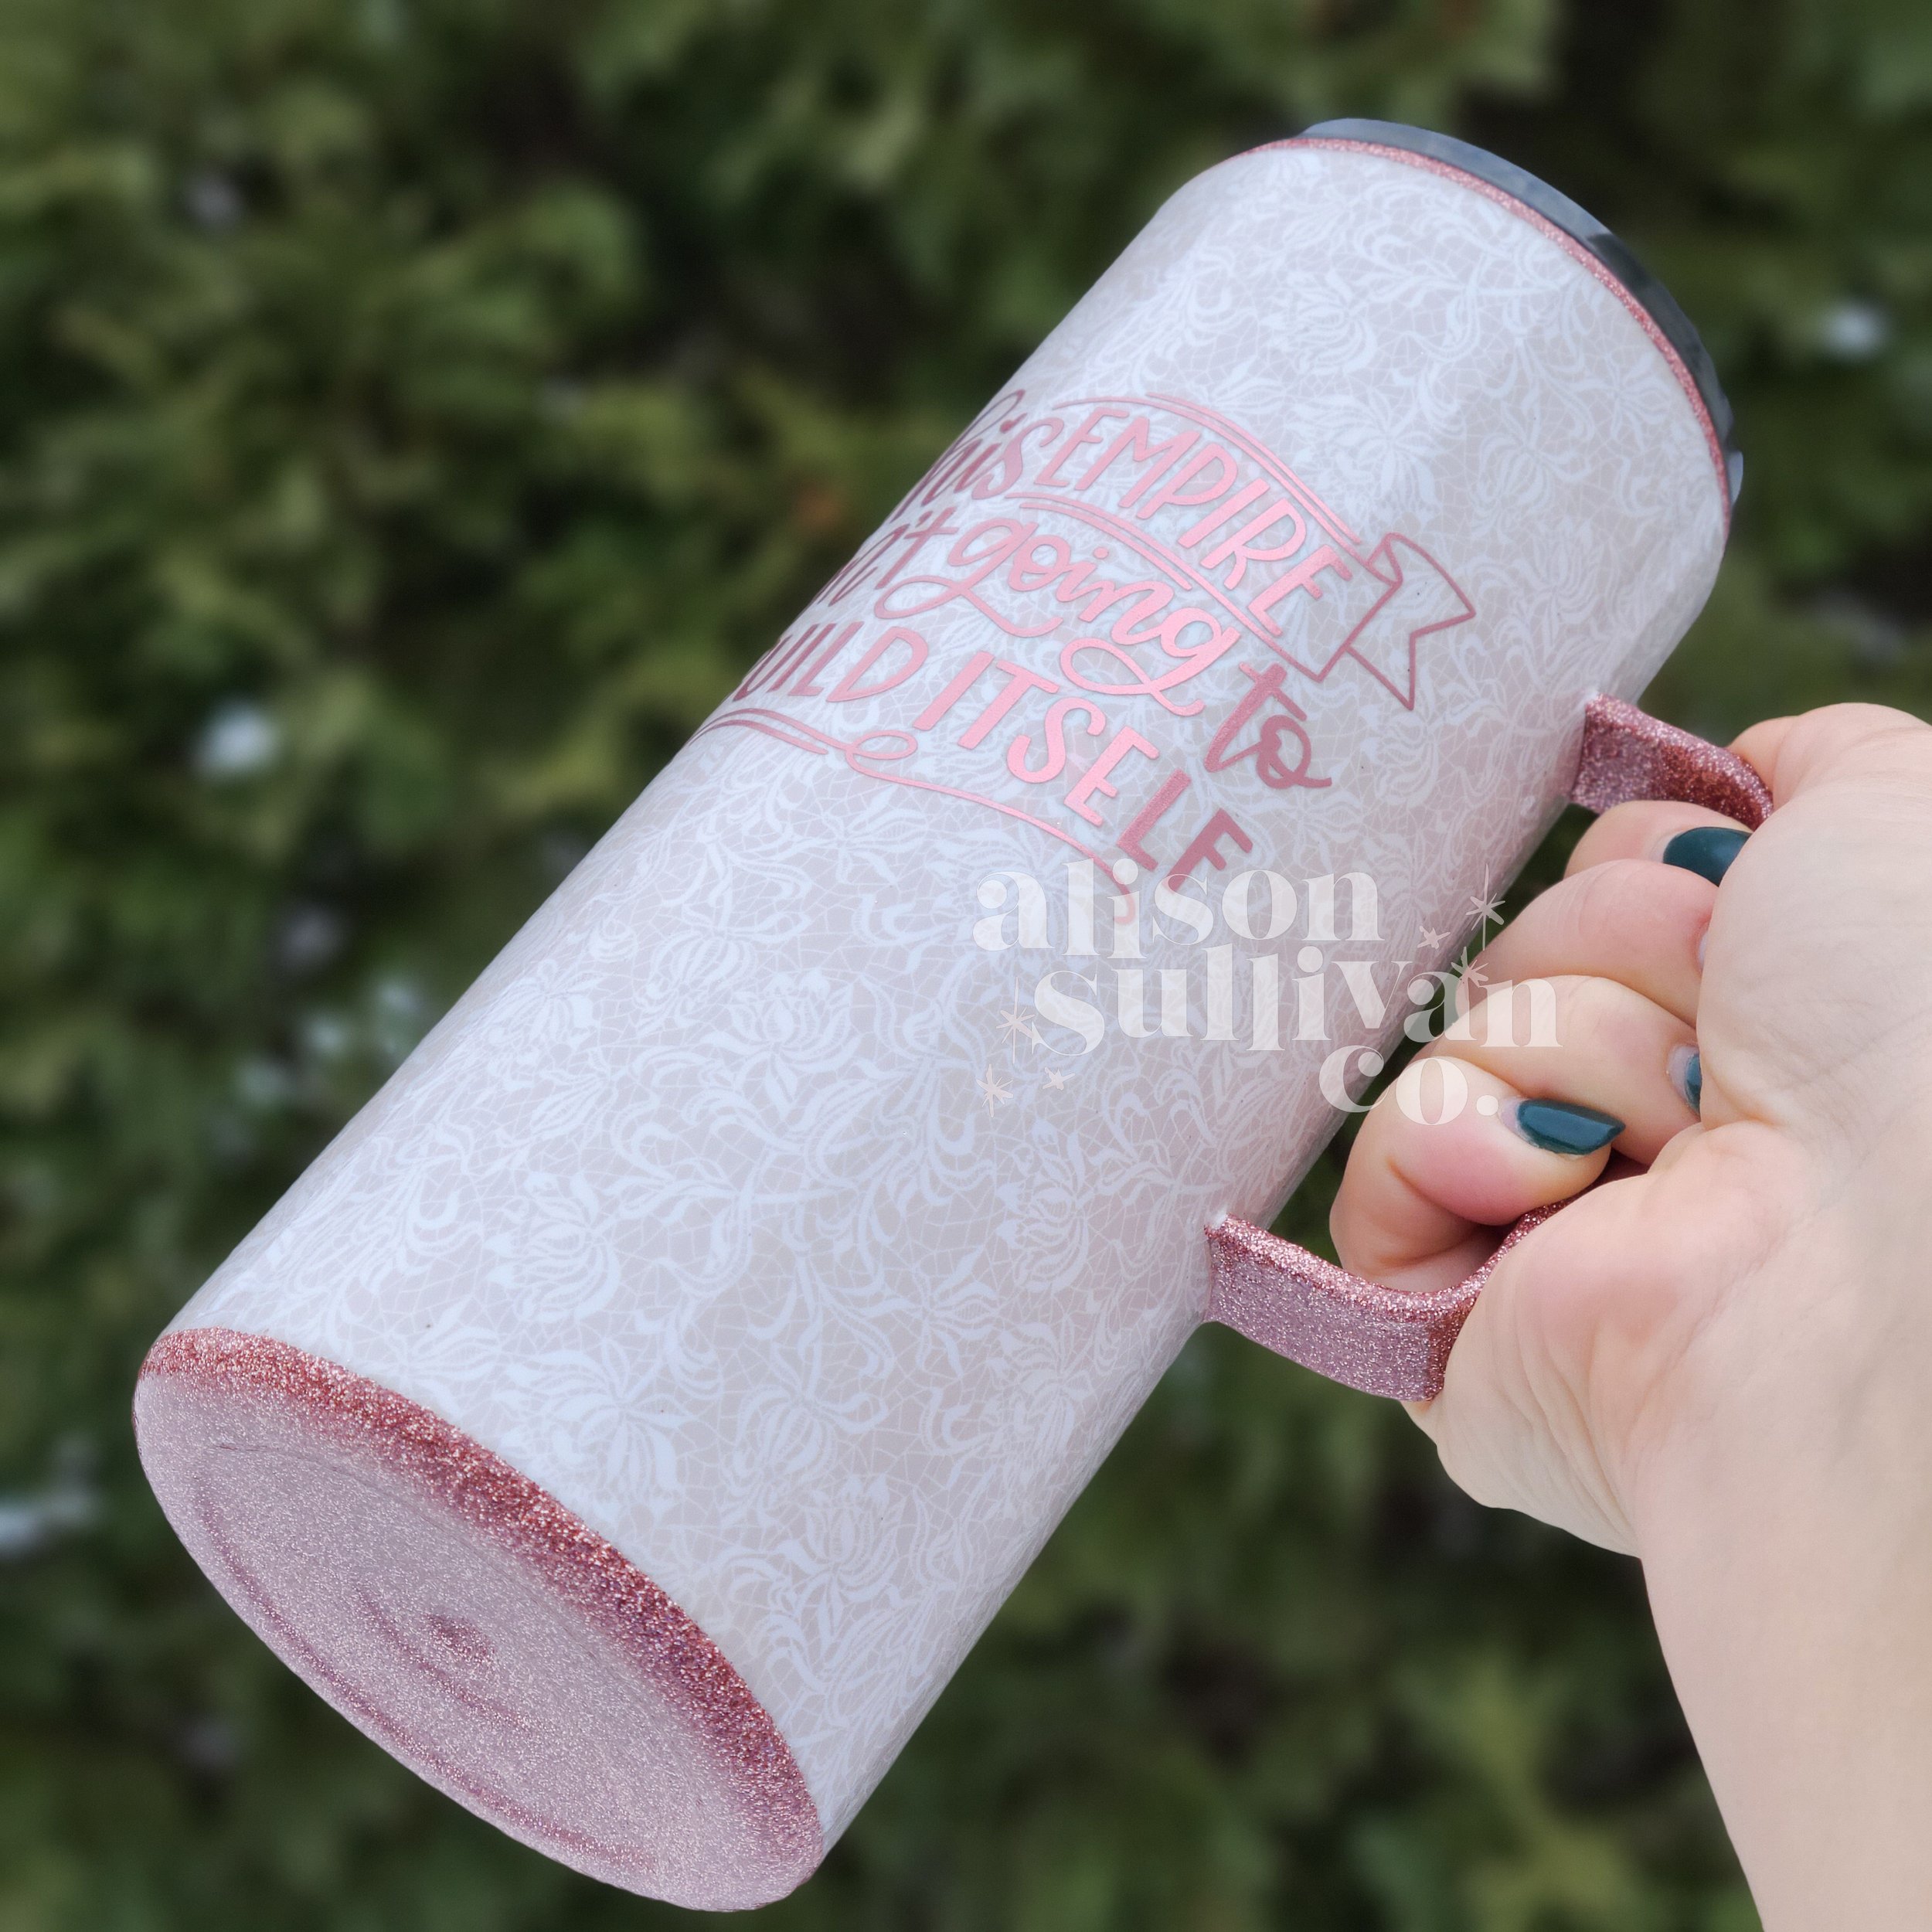
Vinyl Wrap Tumbler with Handle + FREE TEMPLATE
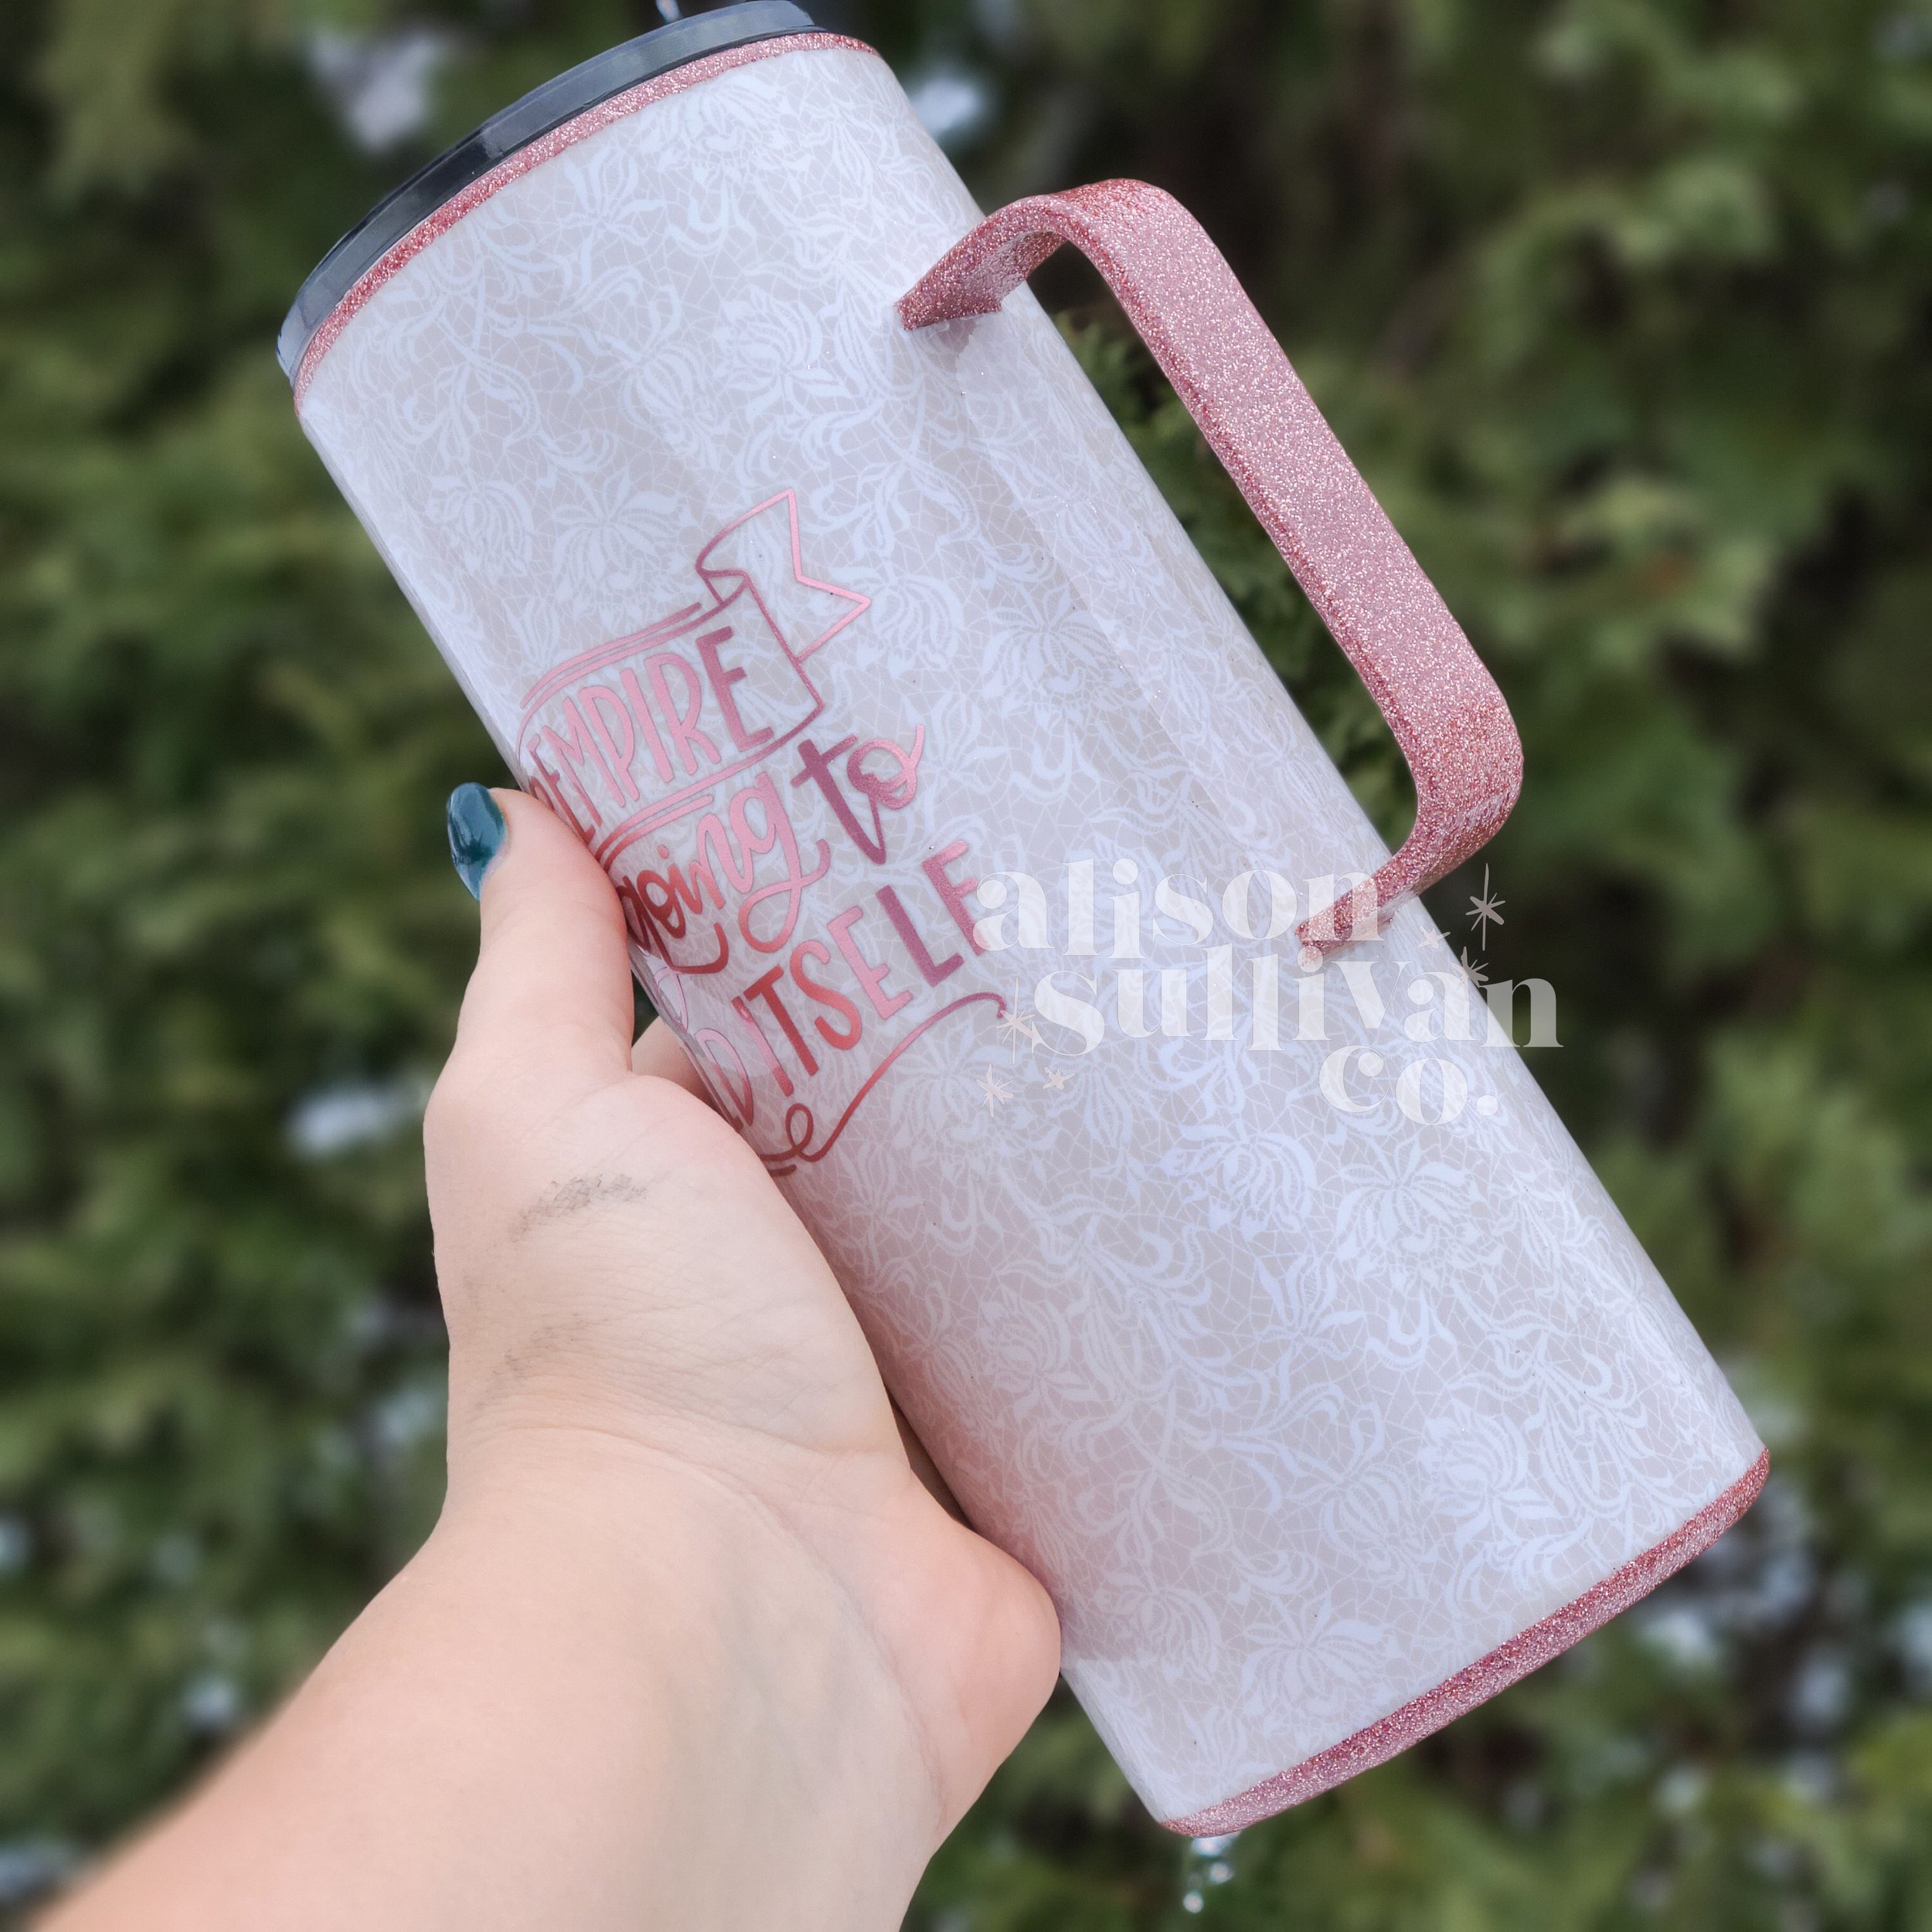
Learn how to wrap vinyl on a camper mug with a handle! It can be tricky to get your vinyl to lay just right when you’re dealing with a handle. I will show you here today that you can make your life so much easier if you use a template (You can grab this exact one for free!)

Recommended Supplies
Stainless Steel Tumblers (discount code: alisoncrafts)
Glitzy Kreations Glitter (Discount Code: alison10)
Glitter Dipped Sips Glitter (Discount Code: alisoncrafts10)
Watch Full Tutorial on YouTube:
Steps
Step 1: Prep Your Surface & Add Base Coat
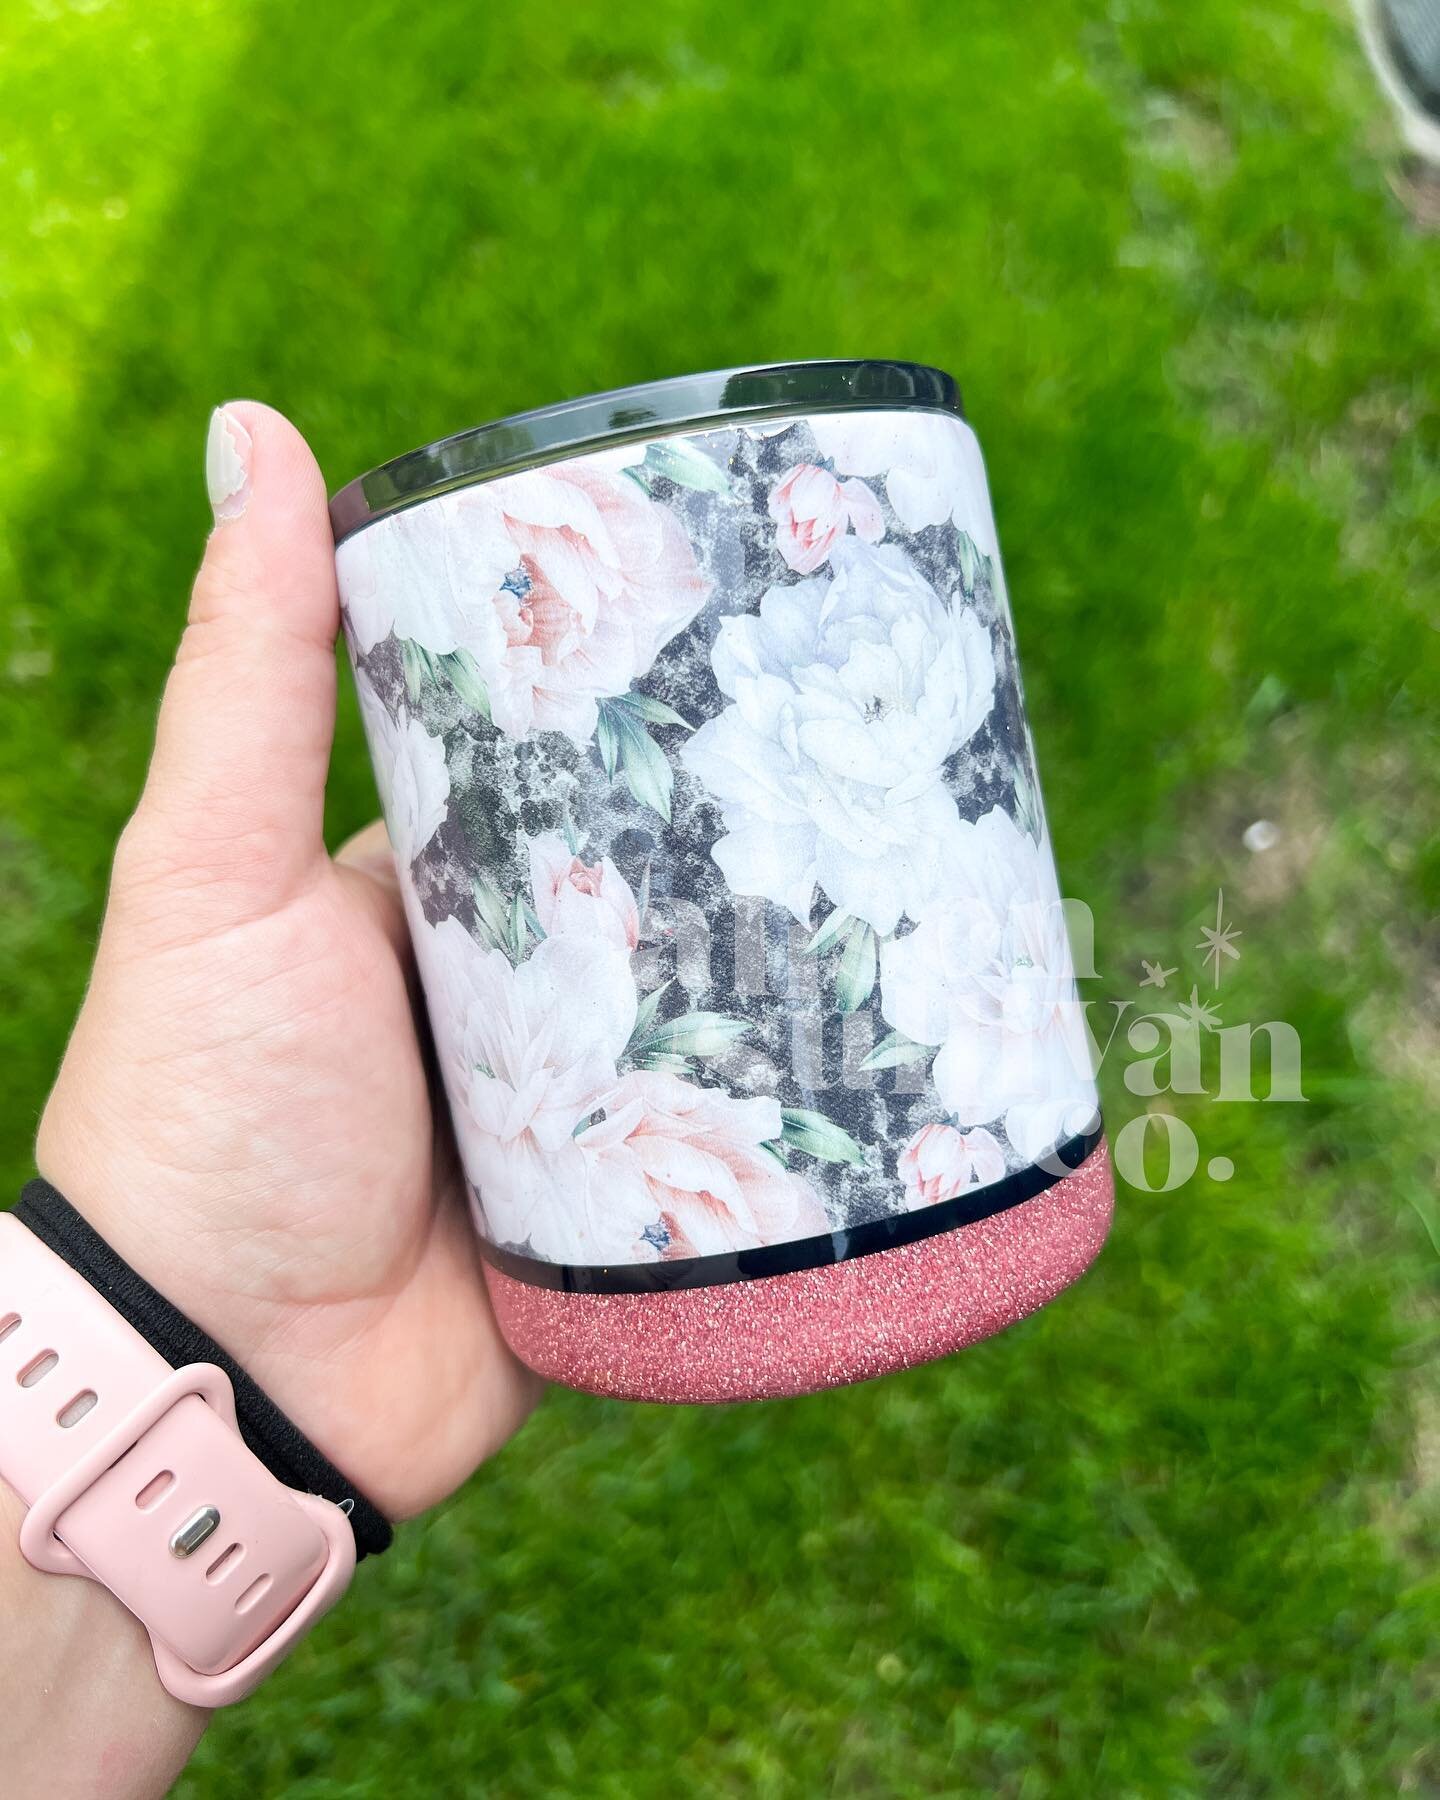
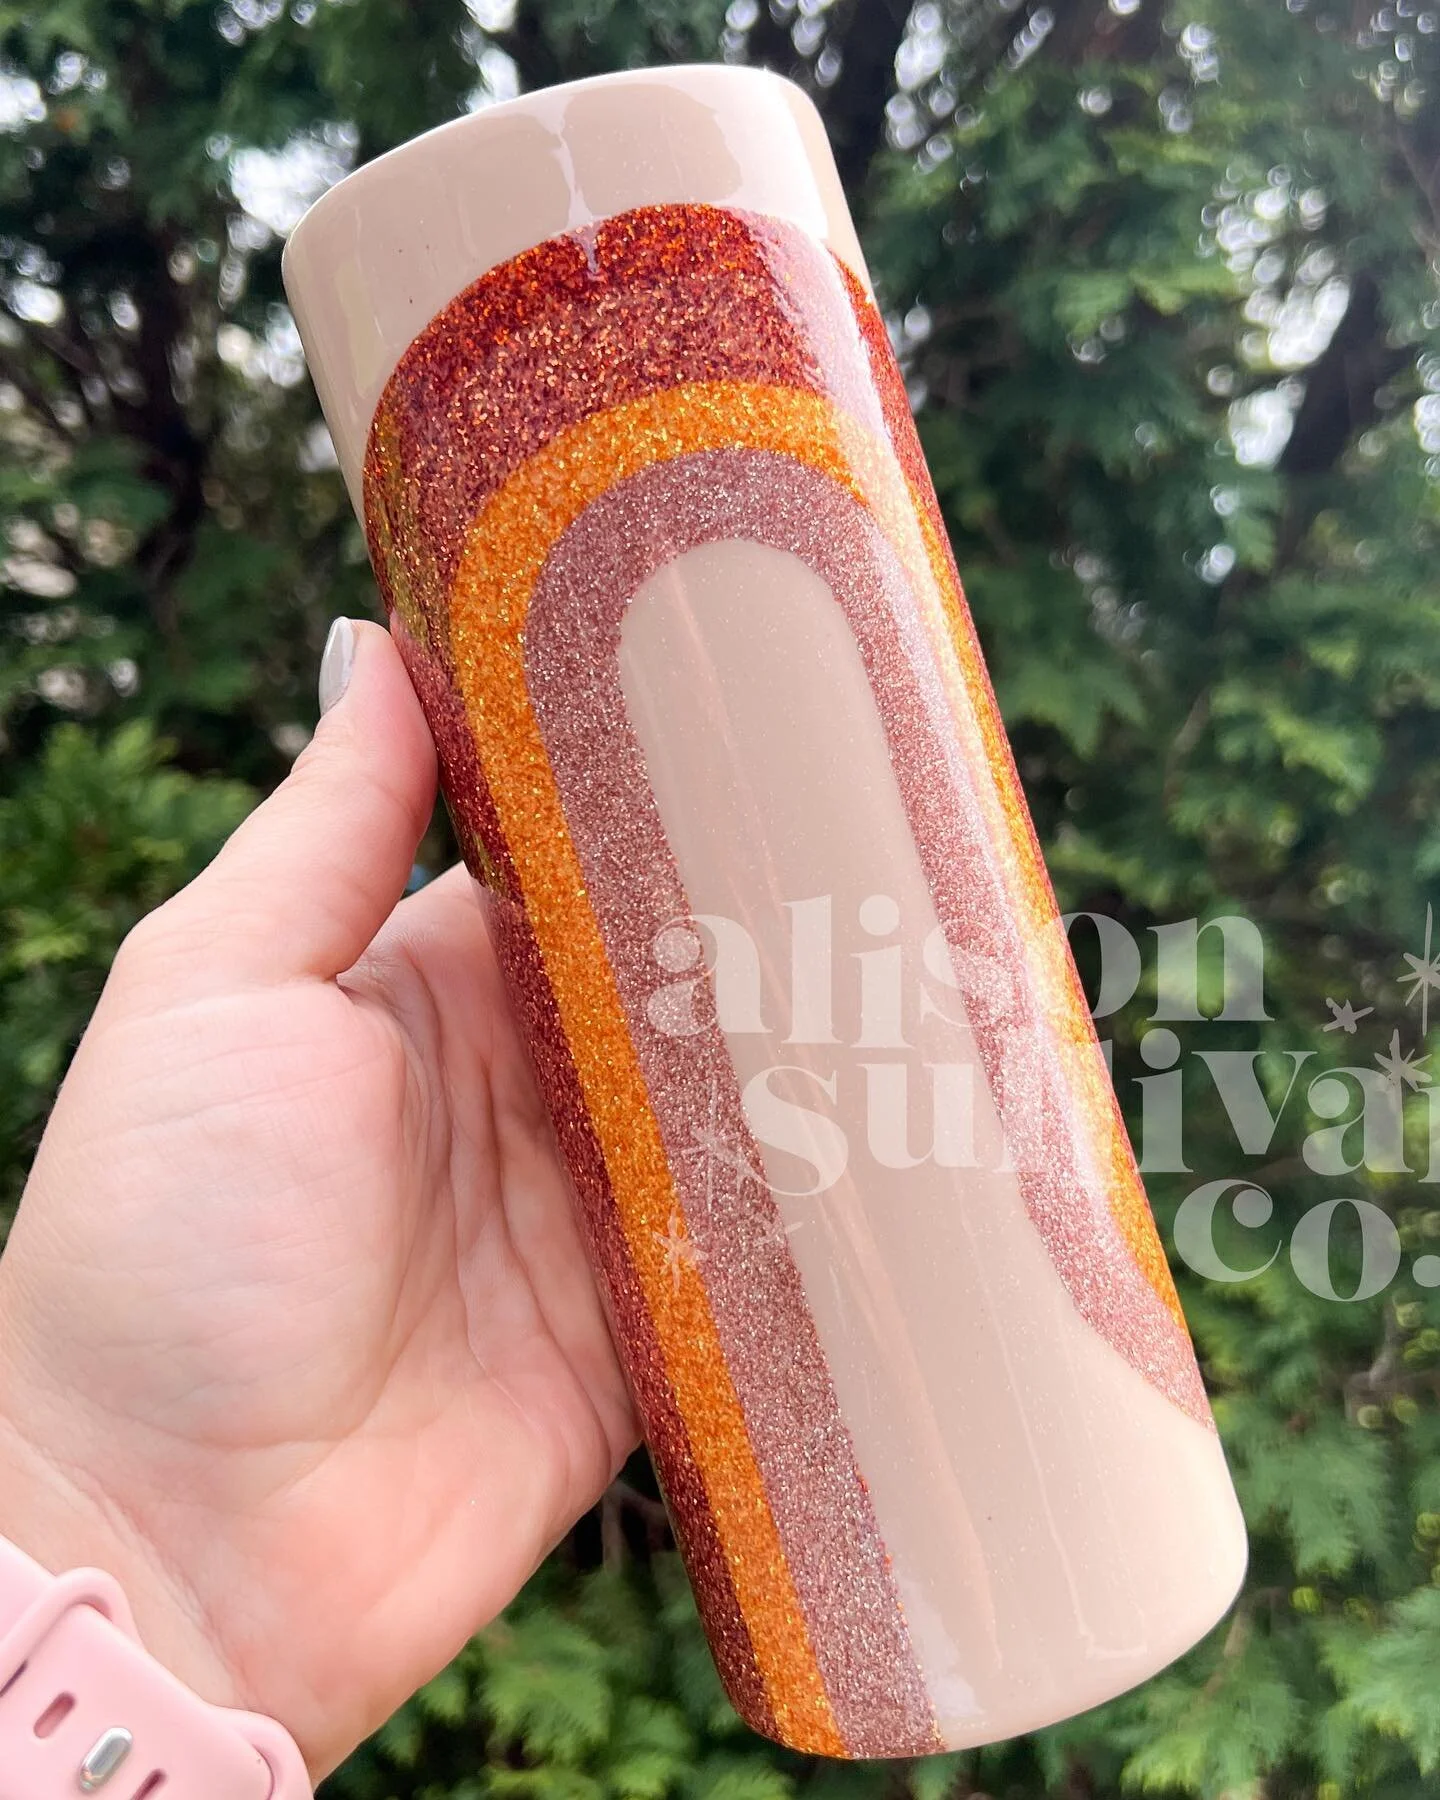
Prep is important for any project. Sand with 220 Grit Sand paper to prep your tumbler. Watch here for a demonstration. . Add the base coat for your tumbler. This one was a the Rustic Pink Recipe Here.
Step 2: Cut and Apply Vinyl
I created a template you can use to cut and apply vinyl to your 30 oz camper from craft haven. Click here for the template.
Step 3: Apply & Seal Glitter.
Use brite tone or glitter glue to apply glitter. Let Dry & seal with Glitter Glue. Let dry 2 hours.
Step 4: Add Vinyl Decal
You can add the vinyl decal early on because you have a smooth surface!
Step 5: Build up coats of brite tone until smooth
Apply coats of brite tone every 4 hours. Sand every 3-4 coats with 400 grit sand paper until smooth.
Step 6: Sanding & Layer Brite Tone
After you do 3-4 coats of BT, let it dry over night. Then do a light sand with 400 grit sand paper ONLY OVER THE VINYL AND GLITTER. then follow up with a few more coats of BT until you are happy with how it looks!
Step 8: Clean the Rim
Once you’re satisfied with your finish, clean the rim! Let the cup dry for 5 days before giving it to it’s new home!
Let’s Connect on Instagram