V-Split Tumbler Tutorial- Decorative Vinyl with Two Glitter Types
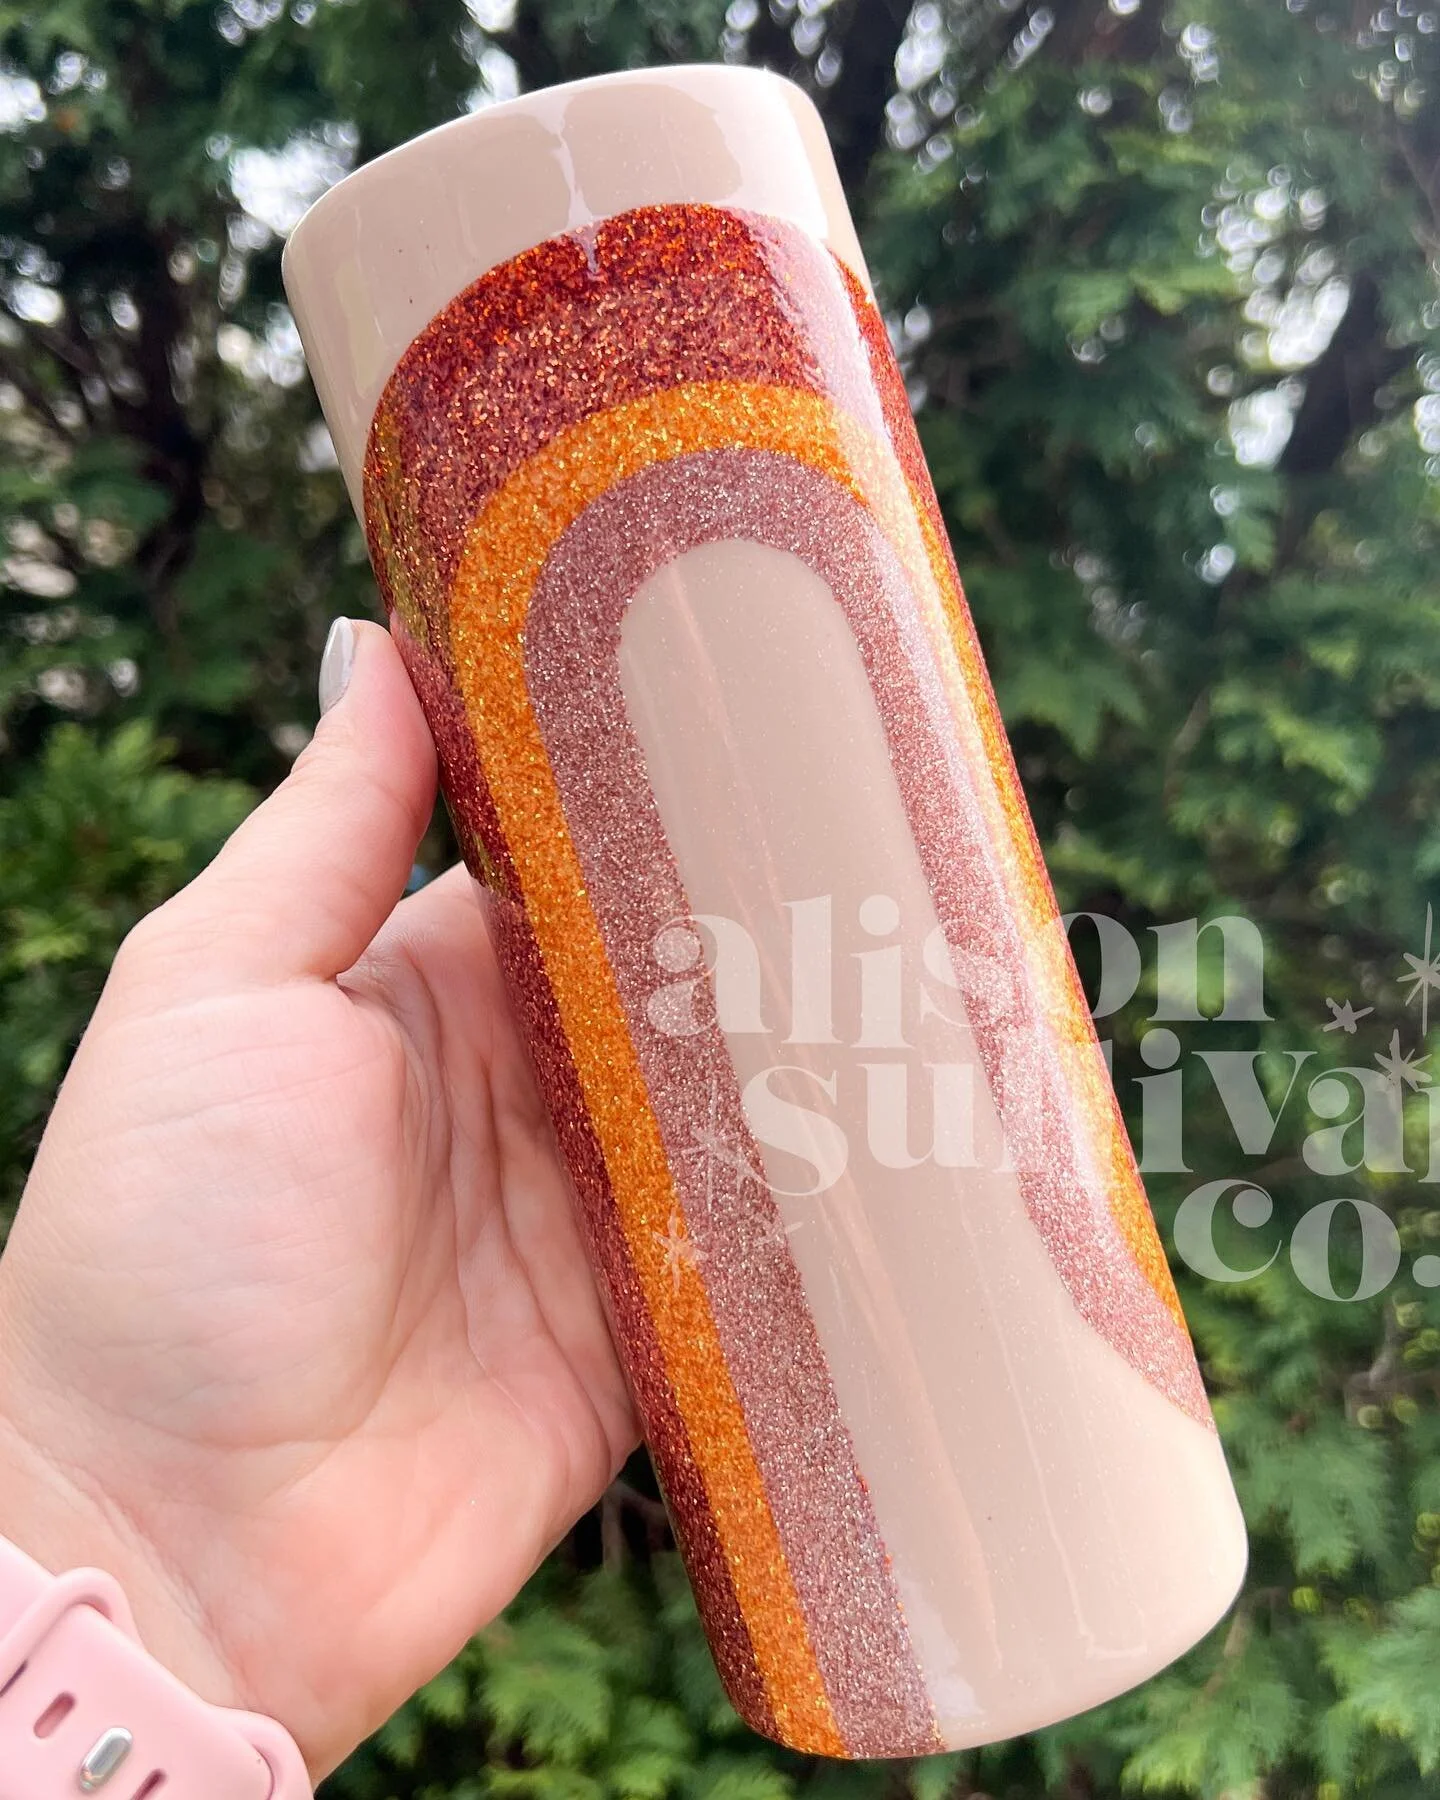
Today I'm going to walk you through how I made this beautiful purple and gold V- Split tumbler with a fun patterned vinyl and two different glitter colors. This is my favorite combo yet! V-Split tumbler designs are a great option when you have your foundational tumbler making skills down and you’re ready to start creating more personalized designs. I will be making this tumbler using CrystaLac products, which are a non-toxic alternative to epoxy, although you can recreate this using whatever top coat that you use.

Prepping Your Tumbler
The first thing you need to do is prep and base coat your tumbler. If you’re looking for some more tips on how to perfect your tumbler prep, check out this blog post for my recommended techniques in prepping your DIY glitter tumblers.
V-Split Vinyl Application
After our tumbler is prepped, you want to start outlining the design of your tumbler by measuring how far your V split will go. This will determine how much of the vinyl design you want in your overall tumbler design. Always measure twice, and cut once. When you are getting ready to apply your vinyl to your tumbler, you want to focus on where the point of the “V” is in your design. If it doesn’t line up perfectly to the top of your tumbler, that’s okay.
Pro Tip: Use blue painter’s tape to hinge your vinyl in place while you start the process of removing the backing and applying it to your tumbler. This will help hold it in place, and make sure it doesn’t move.
Once you get your first piece of vinyl stuck down, you can take off that blue tape, peel back the backing and use a squeegy tool or your fingers to apply your vinyl.
When I have small bubbles within my vinyl, I use an Exacto knife to poke a small hole in the bubble so I can smooth it out.
Before you move onto the next steps of your design, you want to make sure that where the vinyl sits on the rim of the tumbler is nice and smooth. To trim the top, I pull the vinyl tightly over the edge. Once it’s all smooth, you will take an extra sharp Exacto knife and trim the top. Angle your knife towards your tumbler and be careful that you don't cut yourself.
Recommended Supplies
Stainless Steel Tumblers (discount code: alisoncrafts)
Glitzy Kreations Glitter (Discount Code: alison10)
Glitter Dipped Sips Glitter (Discount Code: alisoncrafts10)
V-Split Glitter Application
I use blue painter’s tape to mask off the area where I will apply my glitter. For this design, I will be using two different types of glitter, so the tape really helps section it off easily. For this tumbler design, I will be using a gold, and then a lilac colored glitter both from Glitzy Creations.To prep the surface of my tumbler for the glitter I am using paint the Flip’N Awesome Paints from CrystaLac in Purple Delight. This paint has really good coverage, so the application process is easy. I just paint this on and apply my glitter.
If you're using a paint that you don't get the best of coverage, you might want to do a coat, let it dry, and then do a second coat when you apply. I add my glitter right to that wet paint. You can also let it dry and use glitter glue or your CrystaLac’s Grand Finale to apply your glitter, whatever you want. This just saves a couple hours of drying. So I put it right on that wet paint. I let this dry completely and then I sealed the purple glitter.
Now you have different options in terms of the steps here, but this is what I like to do, even if it does take a little bit longer. I want to make sure that none of my glitter mixes, I want very sharp edges when it comes to this V split. So I'm using the CrystaLac Glitter Glue to seal my glitter. I'm going to leave my tape on because I don't really need it. I don't need to seal the part where there's no glitter yet. I apply the glitter glue using a blush brush and cover my purple glitter. It does help to have a little bit of dampness on your brush to help it spread out evenly.
Once you get your cup sealed with the glitter glue, let it dry for two hours. I usually put it on my cup turner to spin to be able to flatten it out before I go any further in the process. You always want to remember the flatter your glitter is, the easier the process is and you will be more satisfied with the final outcome. Once it’s all dry, I will remove the tape which is definitely an incredibly satisfying part of the process. I love getting those crisp lines.
Sealing Your Design
As you add the final touches to your design, I do recommend sealing the entire cup with either CrystaLac’s Brite Tone or Grand Finale.
Watch Full Tutorial on YouTube:
Let’s Connect on Instagram